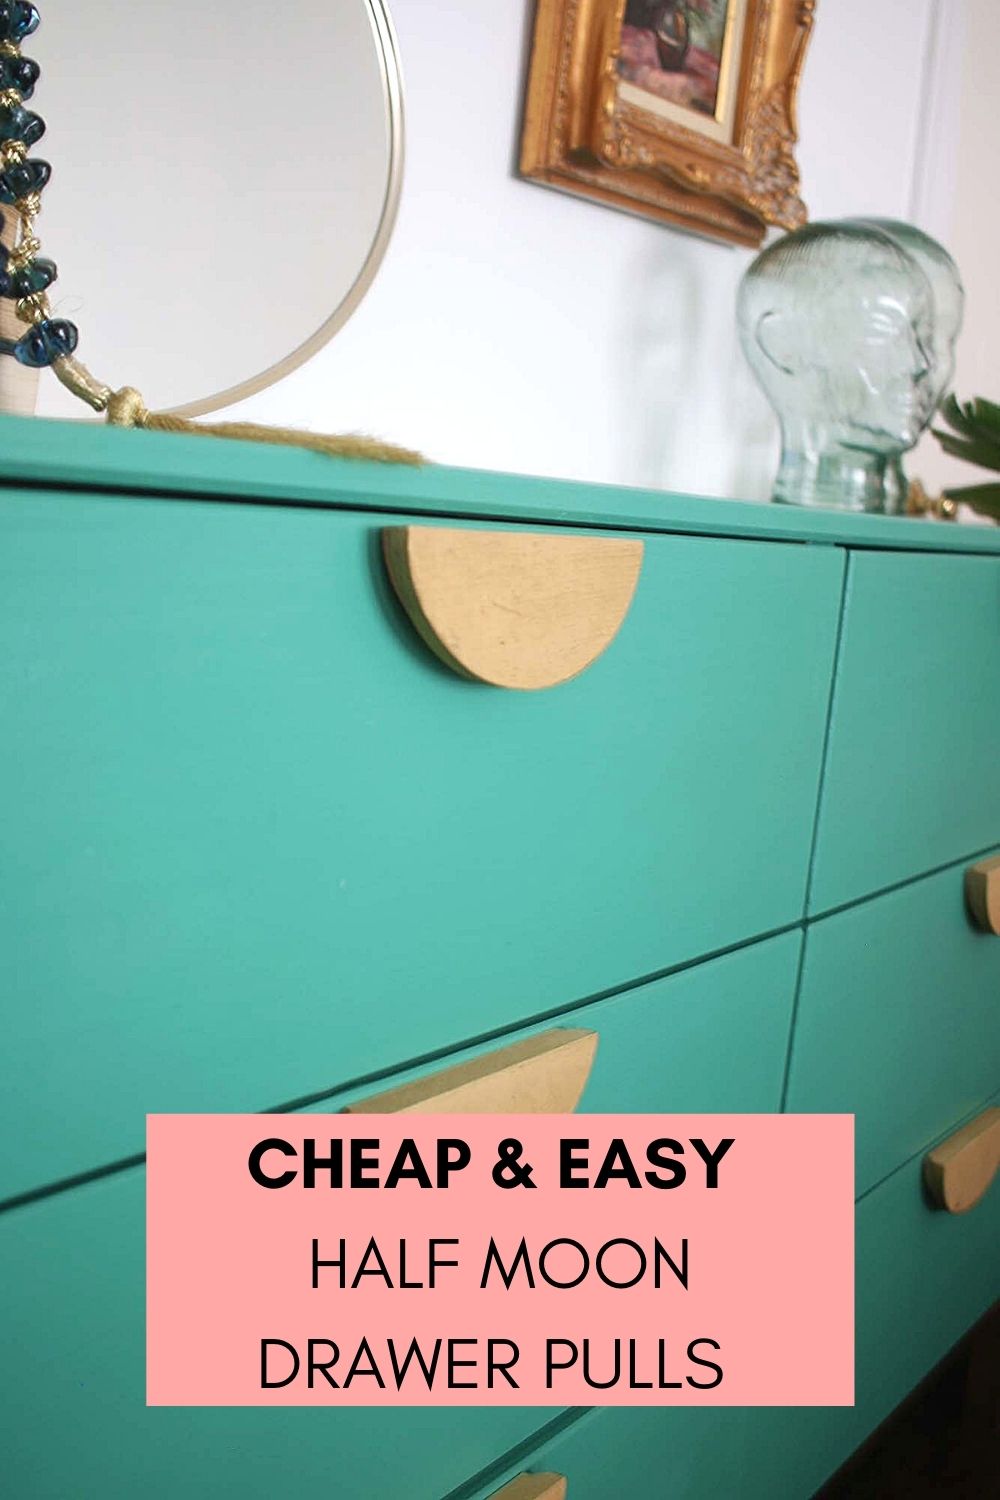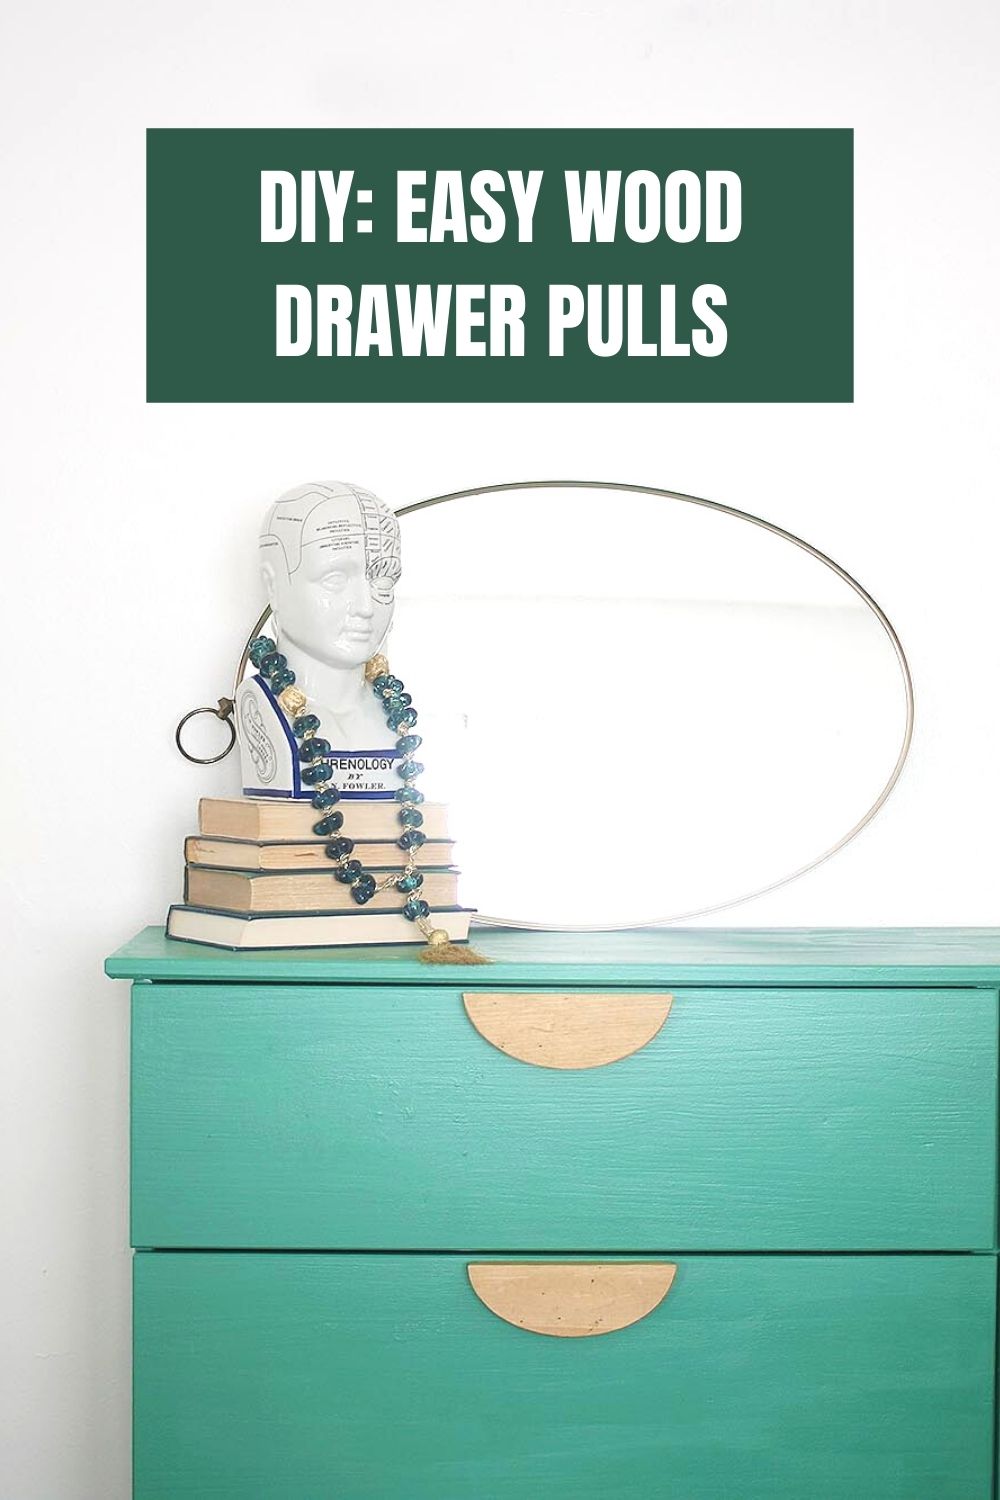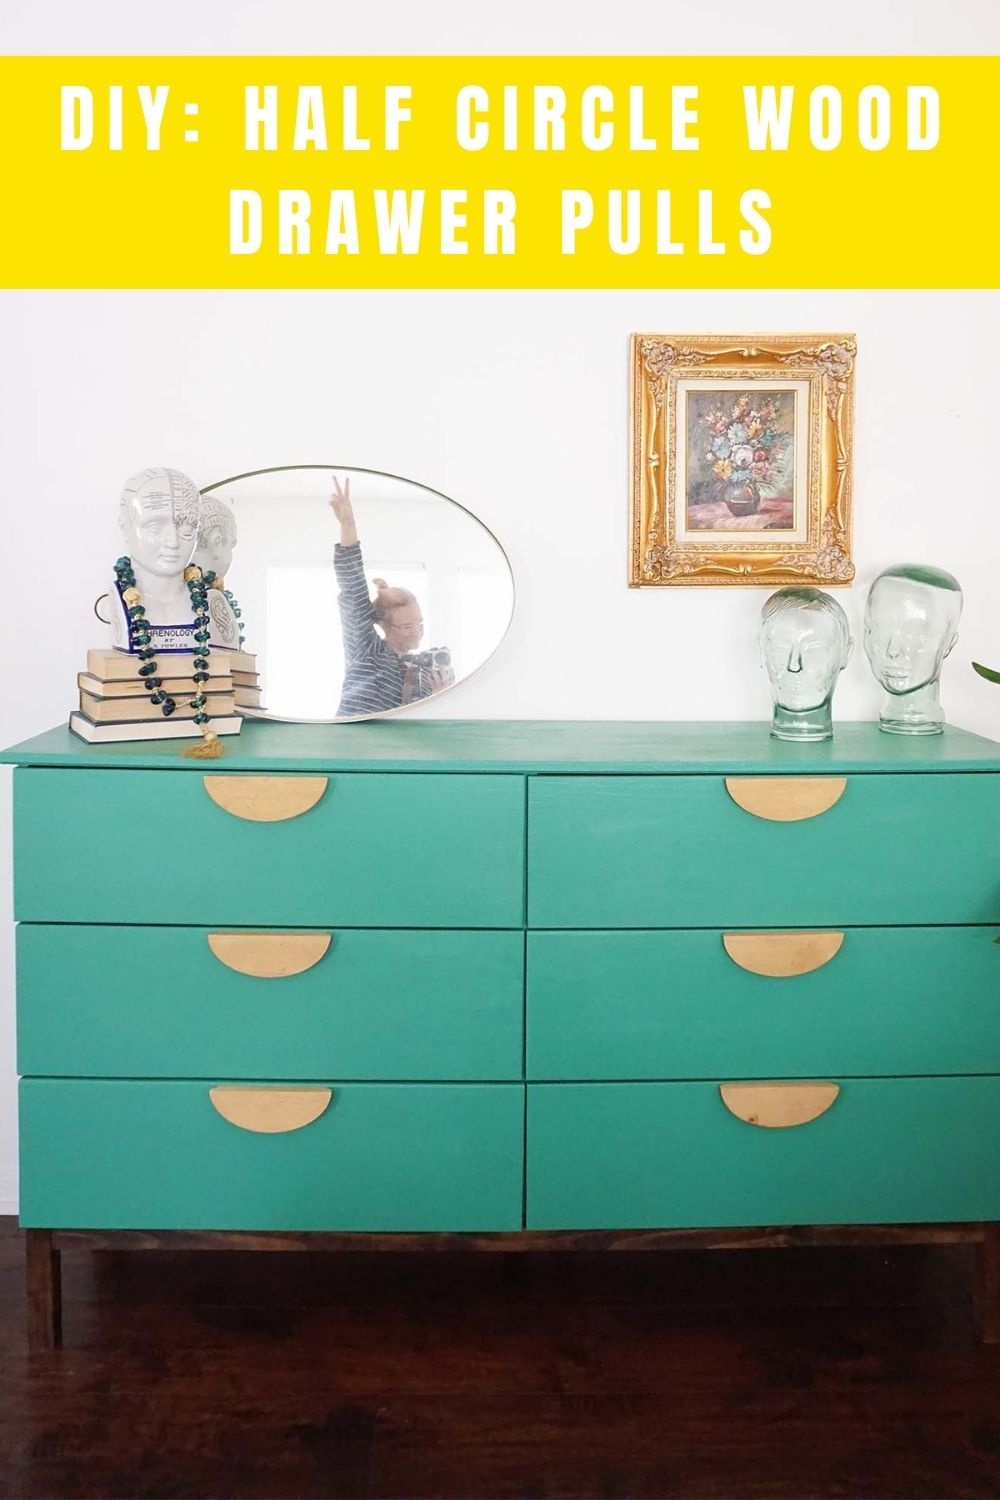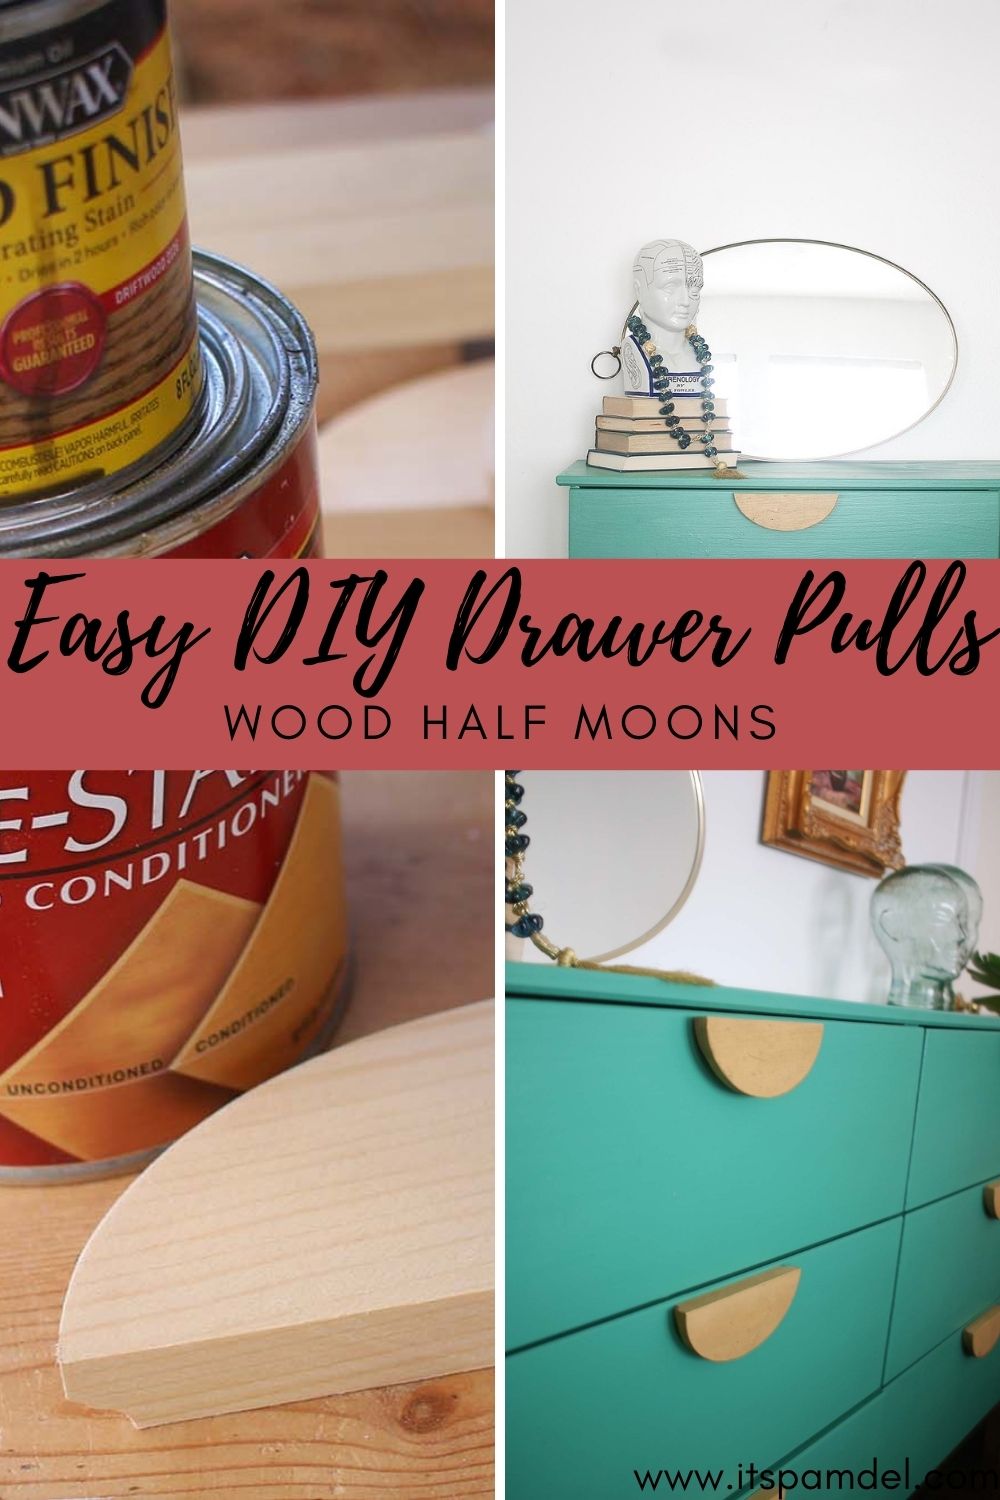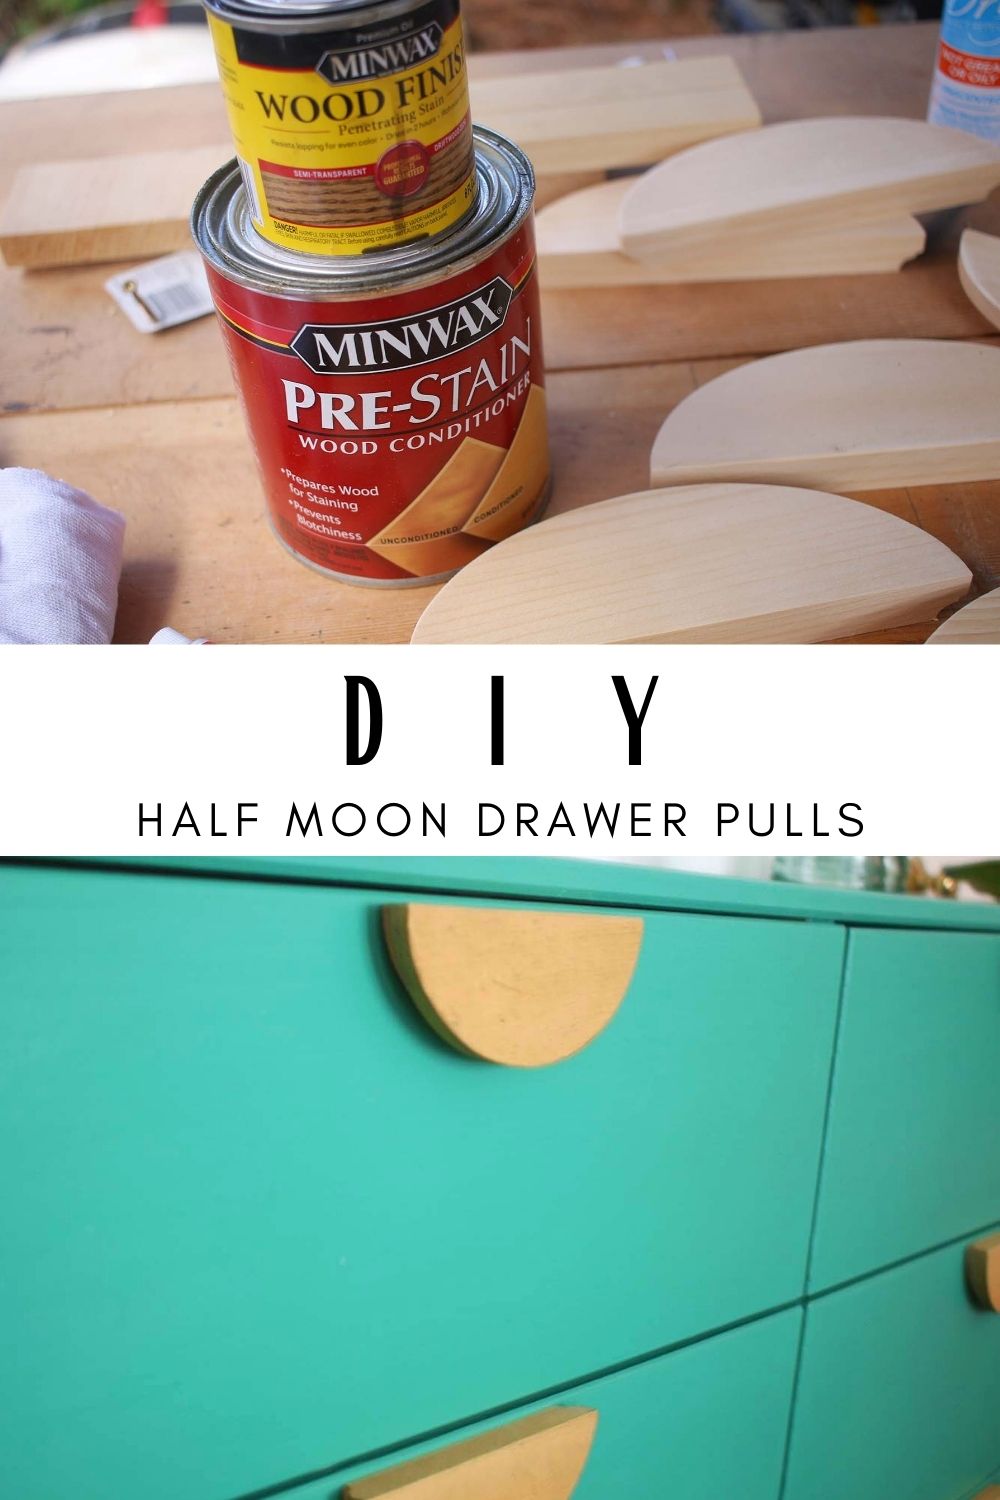
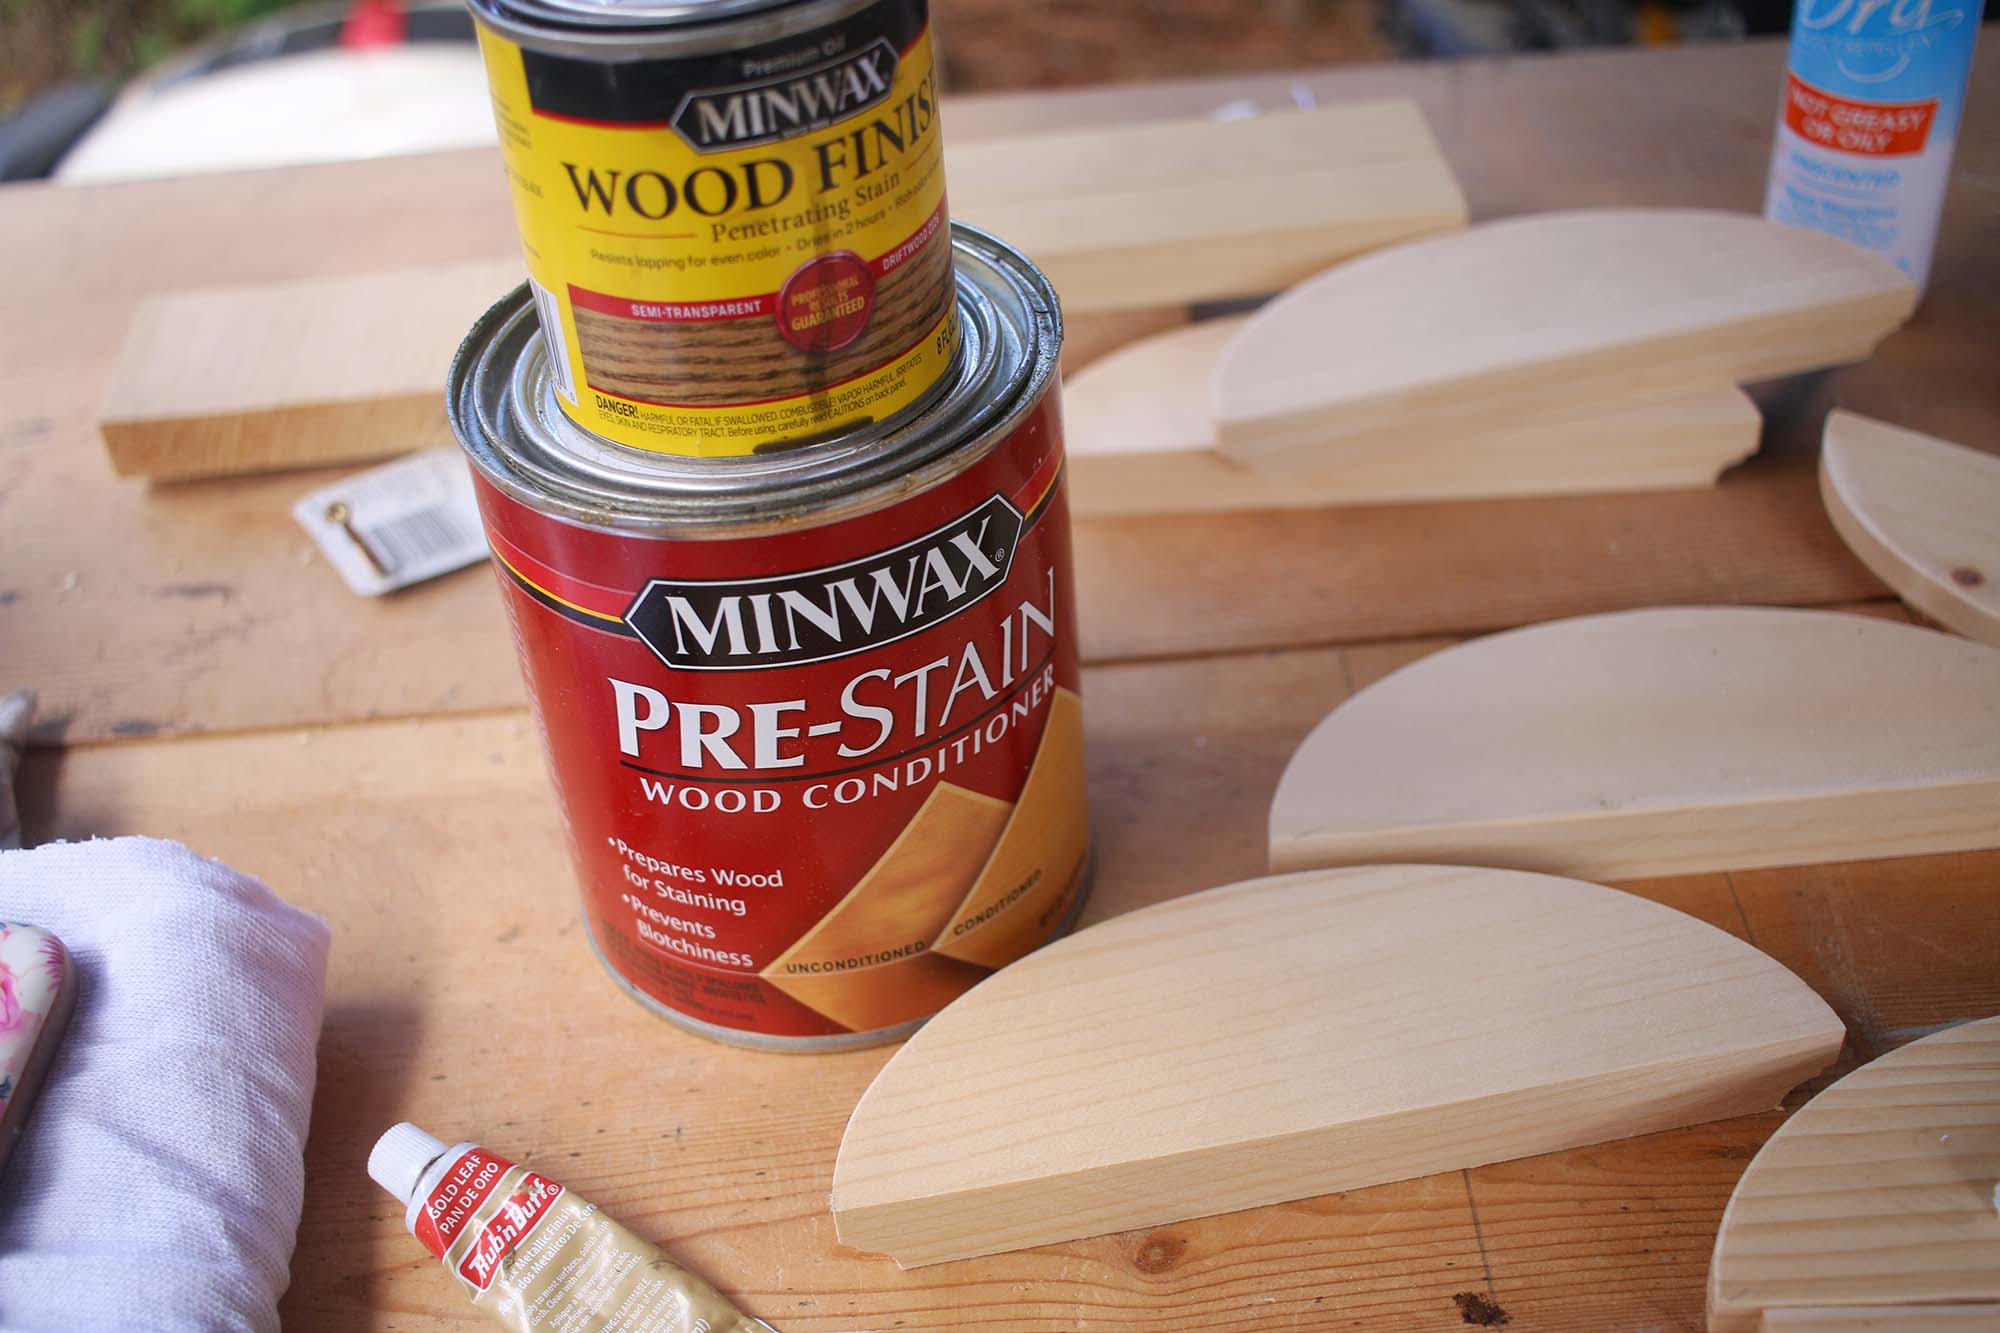
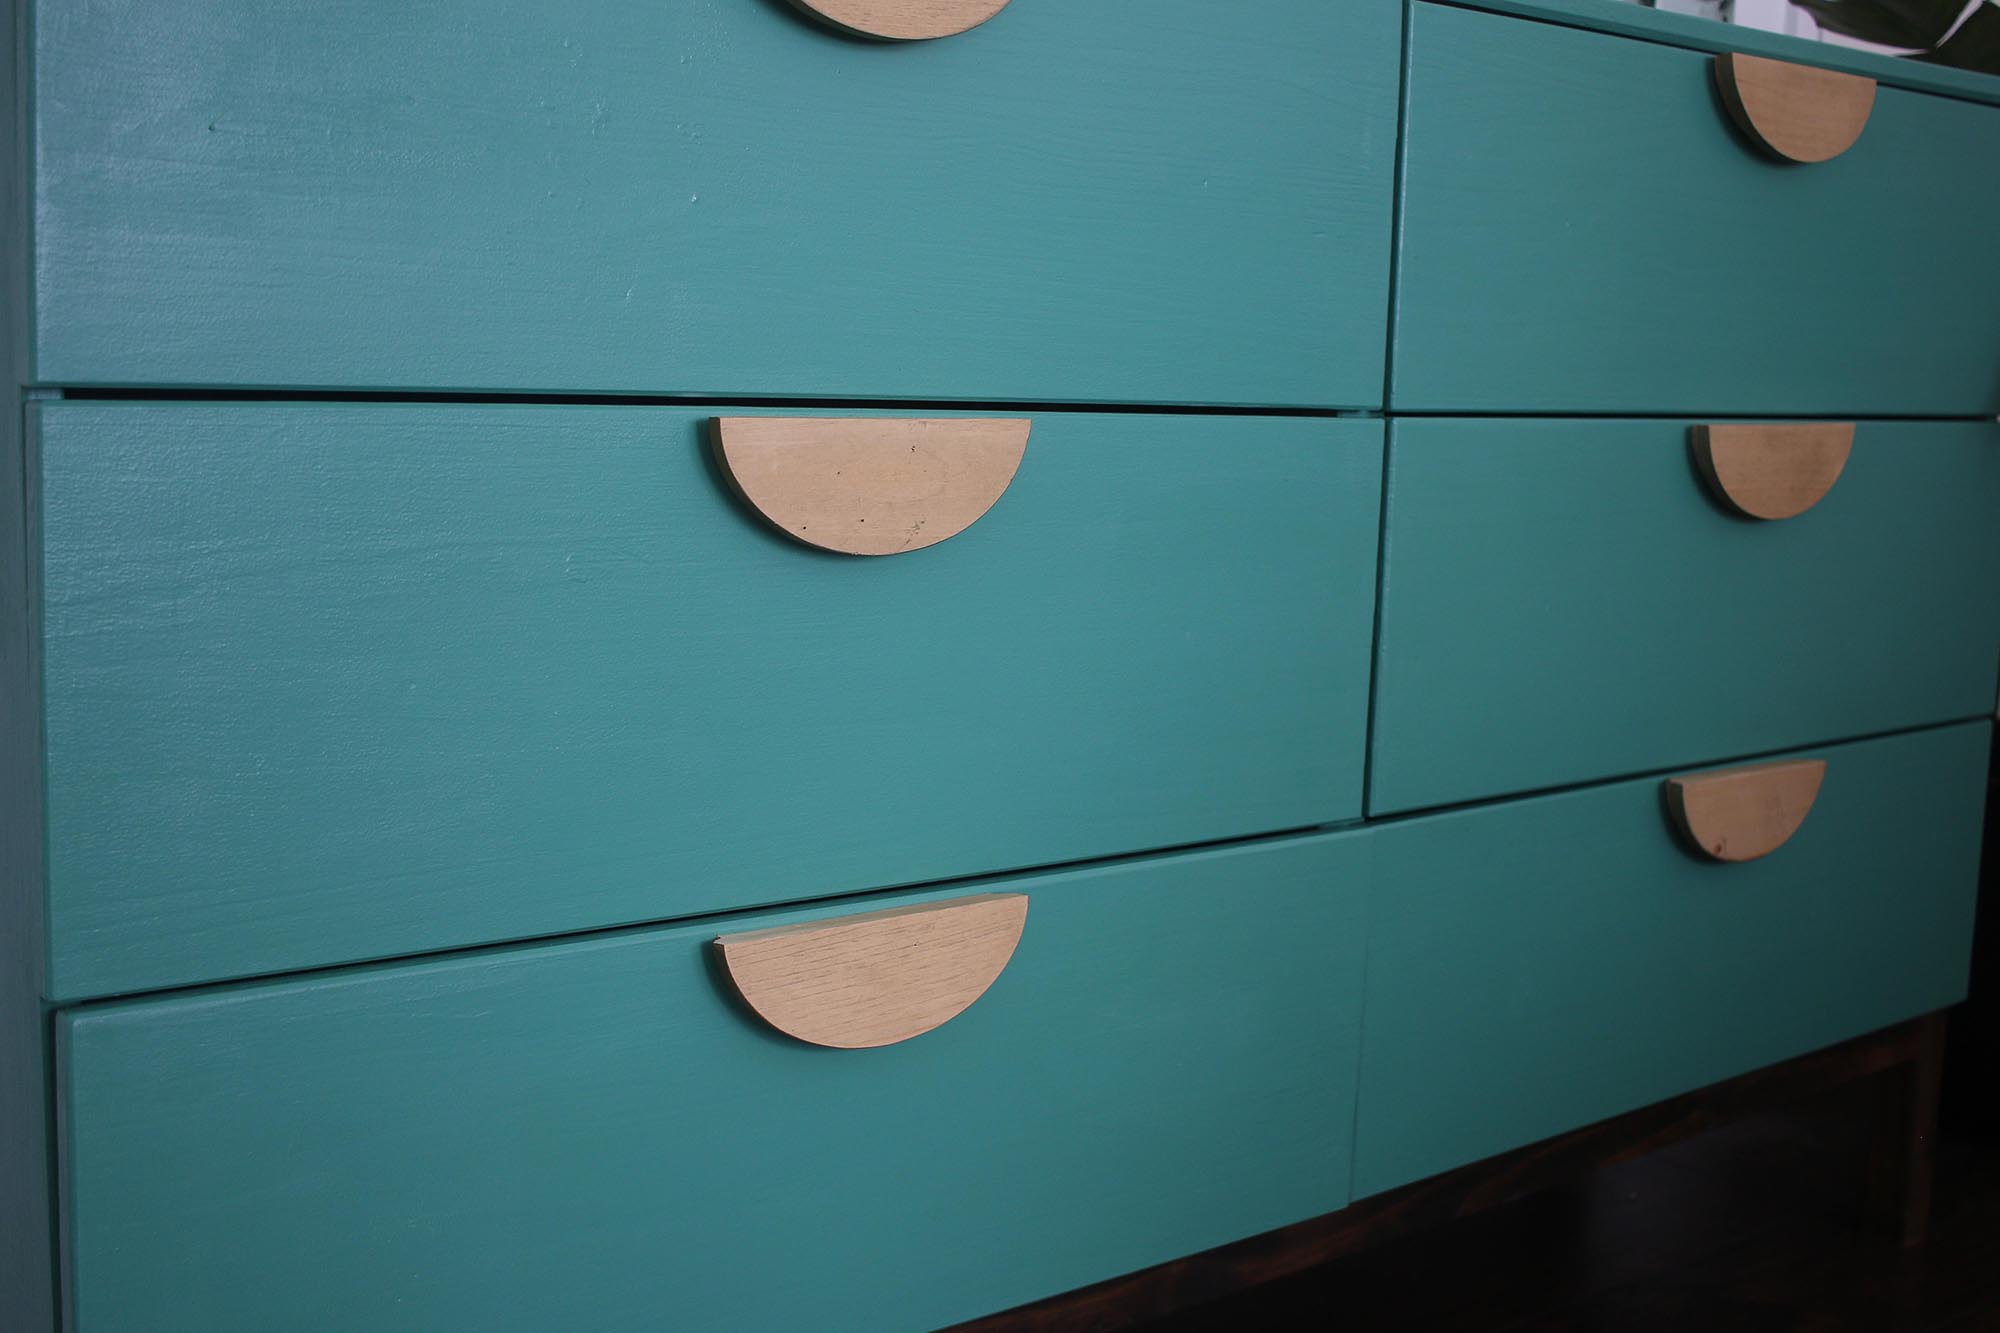
Finding unique inexpensive drawer pulls is a task to say the least! I’ve been loving the half circle drawer pulls & designs that I find on vintage furniture when I am out thrifting for my next piece of project furniture. But one day I was at my local Hobby Lobby & I found these oval wood plaques (don’t worry Amazon has them too!). And I had the idea to slice these tiny plaques to create pulls on my IKEA Tarva dresser (see the whole makeover here).
Materials for DIY Wood Drawer Pulls
– One oval wood plaque for each set of pulls
– Miter saw
– Stain of your choice (I used Driftwood by Minwax)
– Prestain wood conditioner
– Poly finish
Creating DIY Half Moon Drawer Pulls
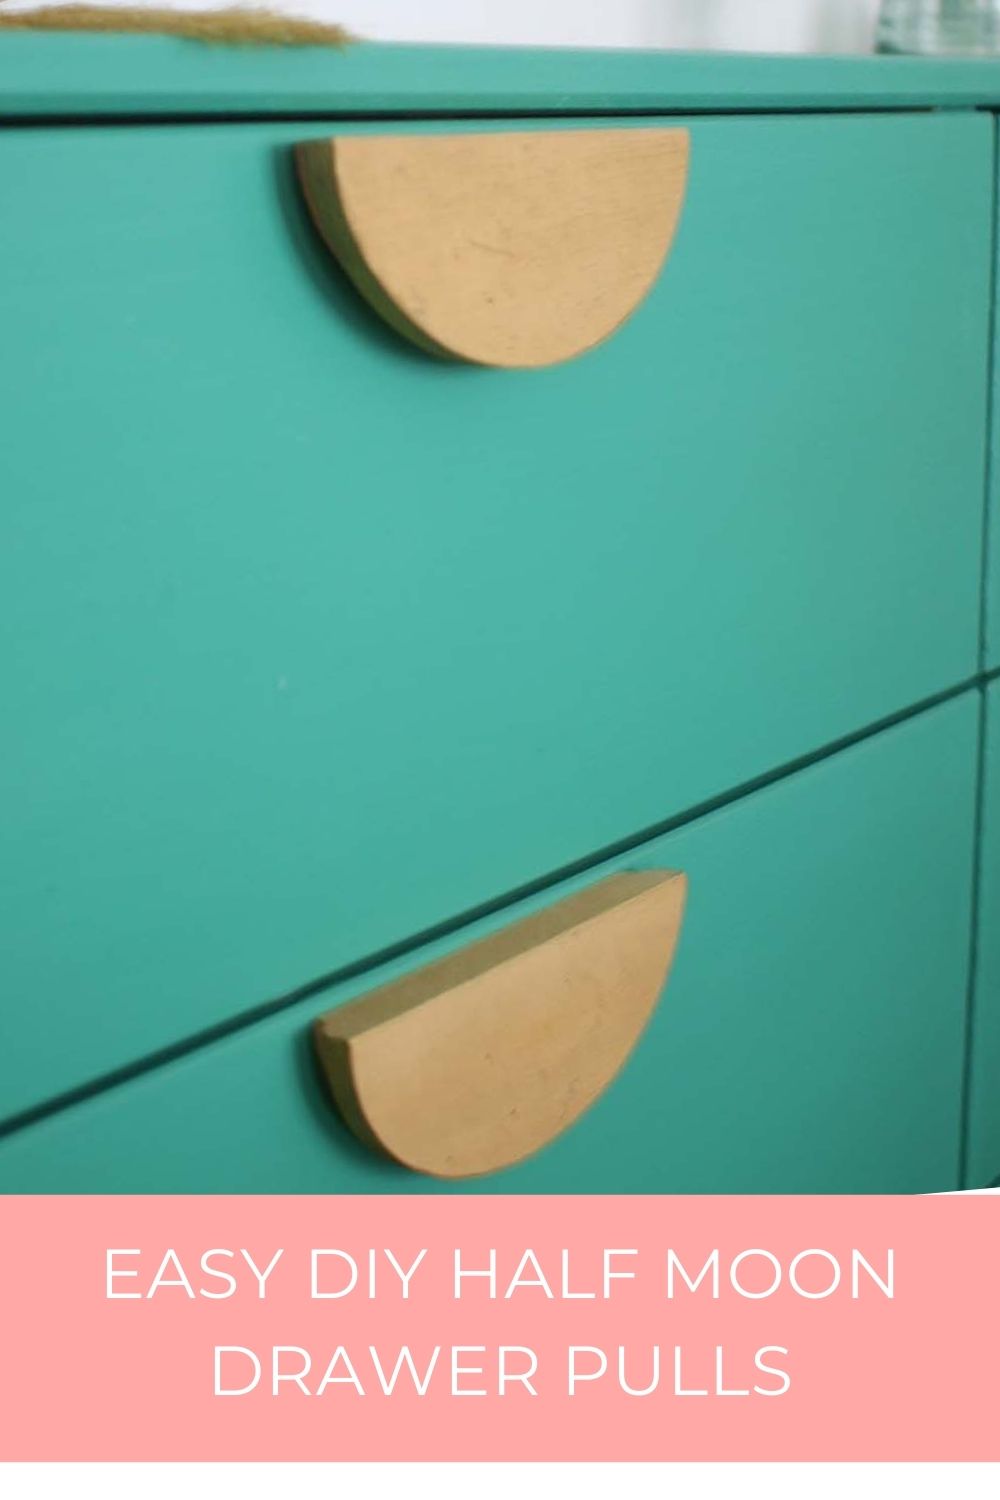
To create these easy DIY drawer pulls, I simply cut the plaques down the middle with a miter saw to split each one in half, whatever you use be careful with such small pieces. After cutting the pieces I gave them a quick sanding to get rid of jagged edges, a layer of pre-stain wood conditioner, stained & gave them a layer of poly. You want to make sure to seal them since pulls get a lot of love and you don’t want the oils from your hands to discolor them.
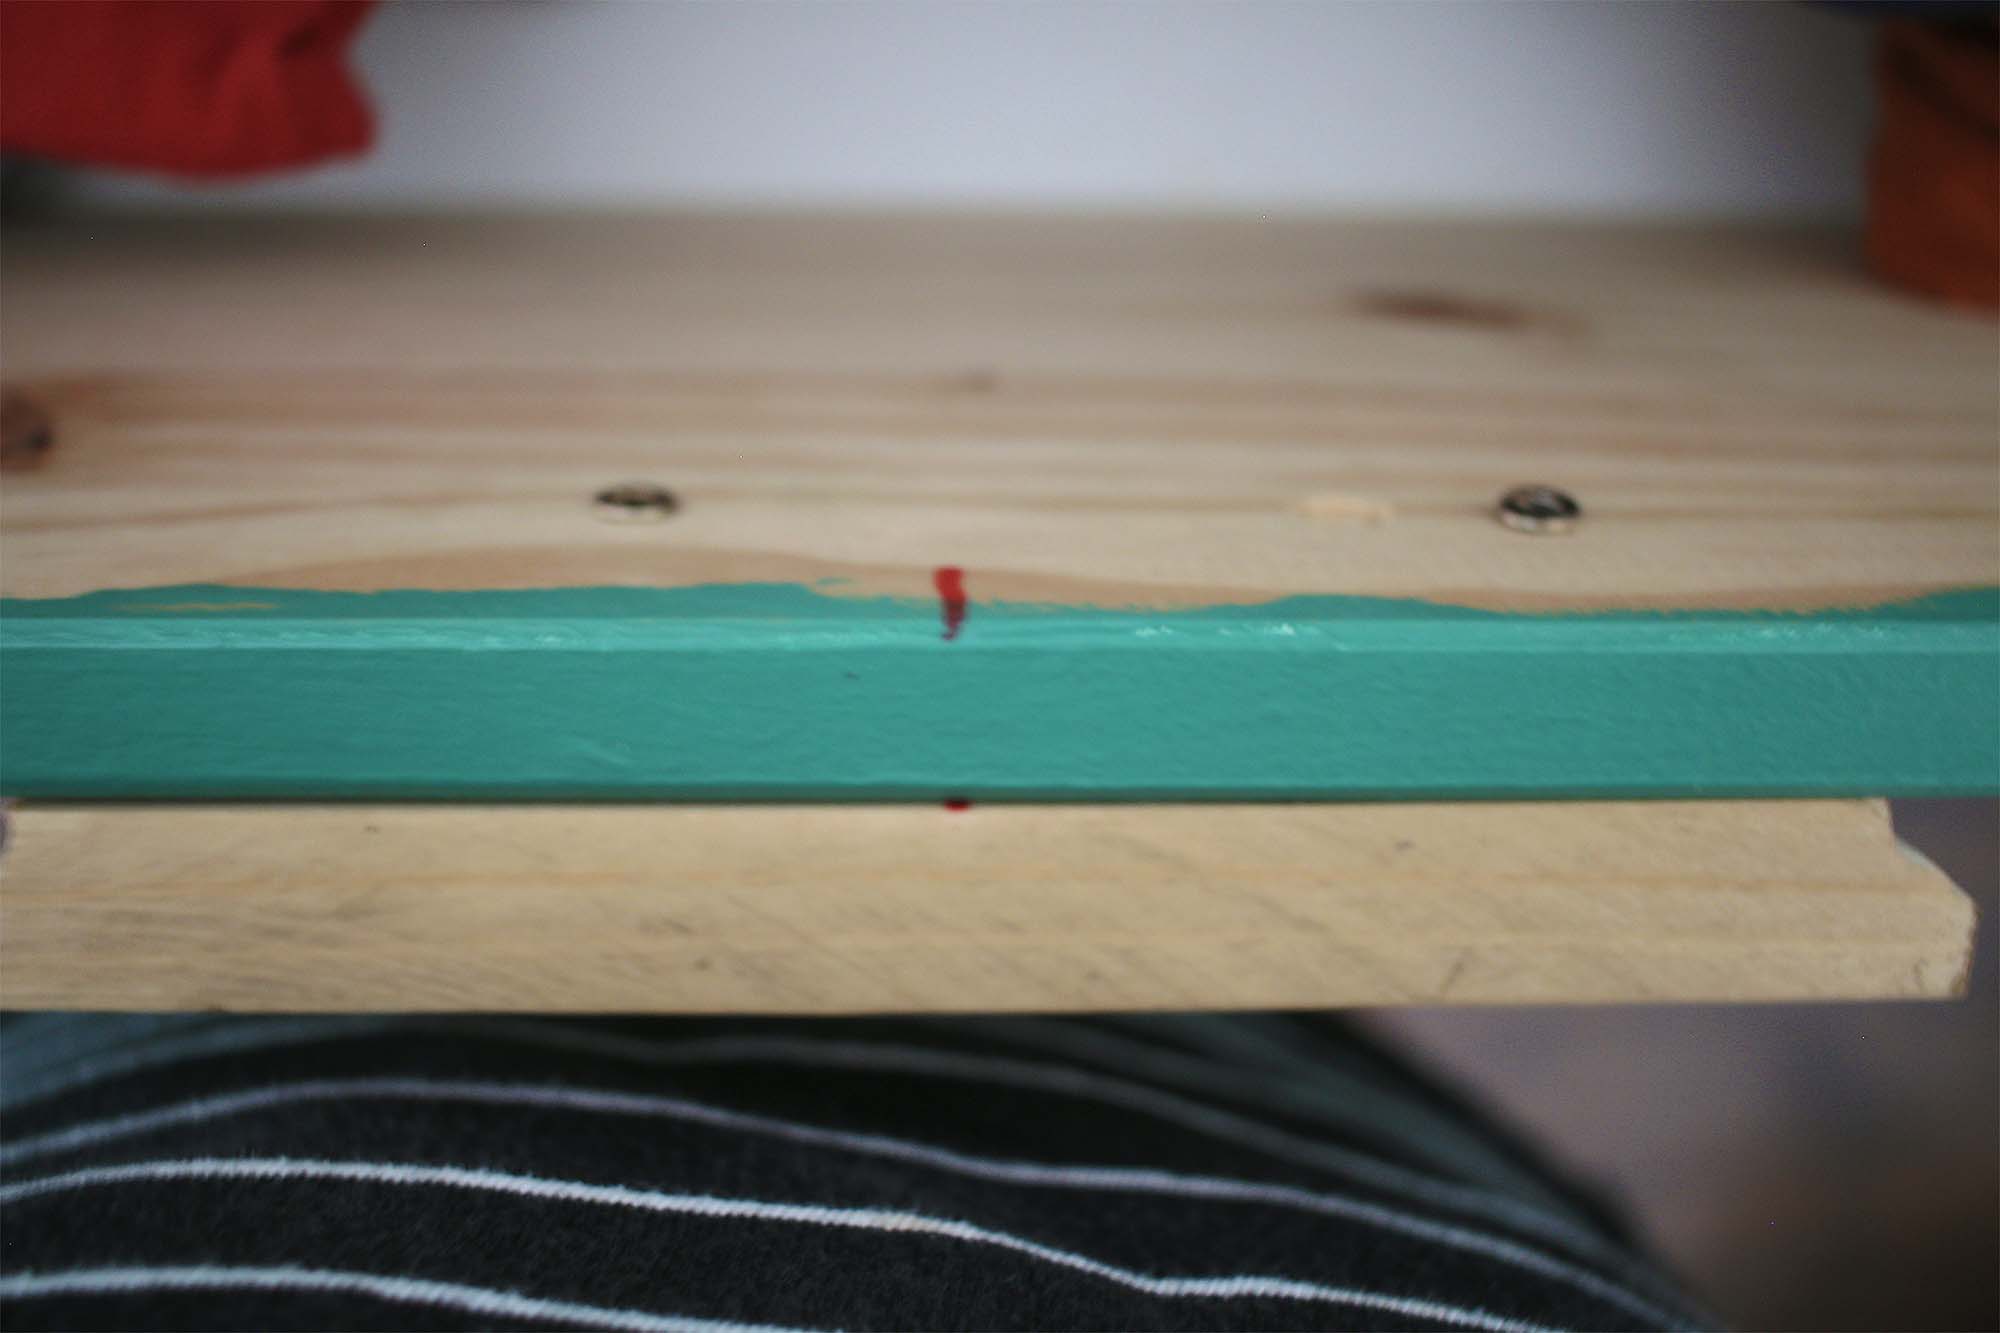
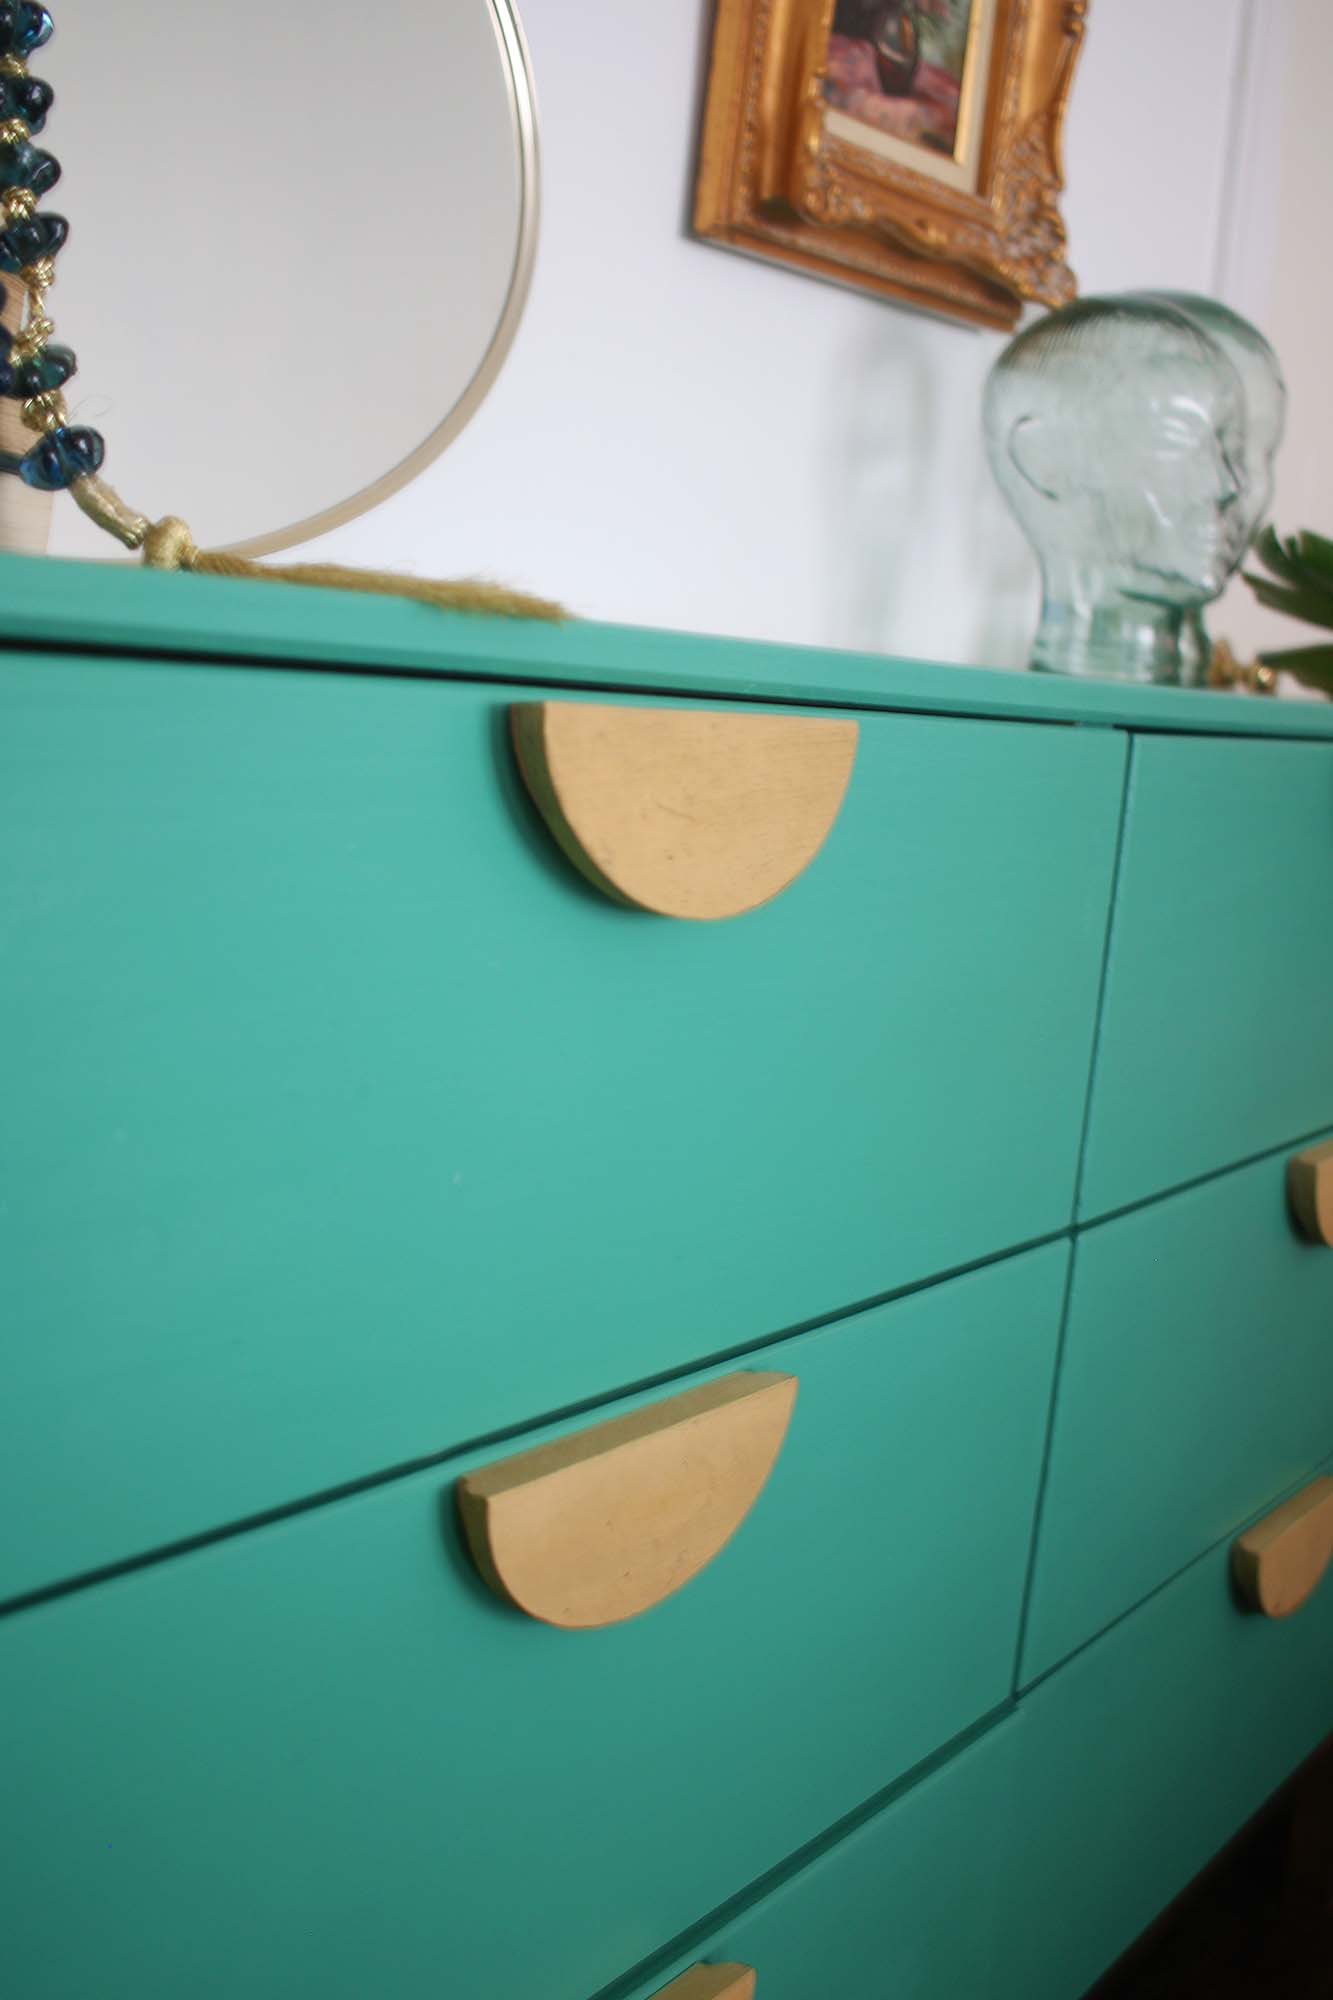
When installing the wooden drawer pulls, I measured for the center of my drawer & the center of the wood plaque to line them up properly. I then drove 2 – 1 3/4″ screws through the back of the drawer into the wood half circle drawer pull to give the front a clean look., you want to use two screws to make sure that your DIY drawer pull doesn’t move around. The plaque bevel should be facing inward to give you a lip to pull the drawer out easily.
Another option is to purchase round plaques & place them in the center of each drawer for a solution that doesn’t need cutting but still gives a very polished & custom look to your furniture makeover!
Pin for Later to make your own DIY Half Circle Wood Drawer Pulls