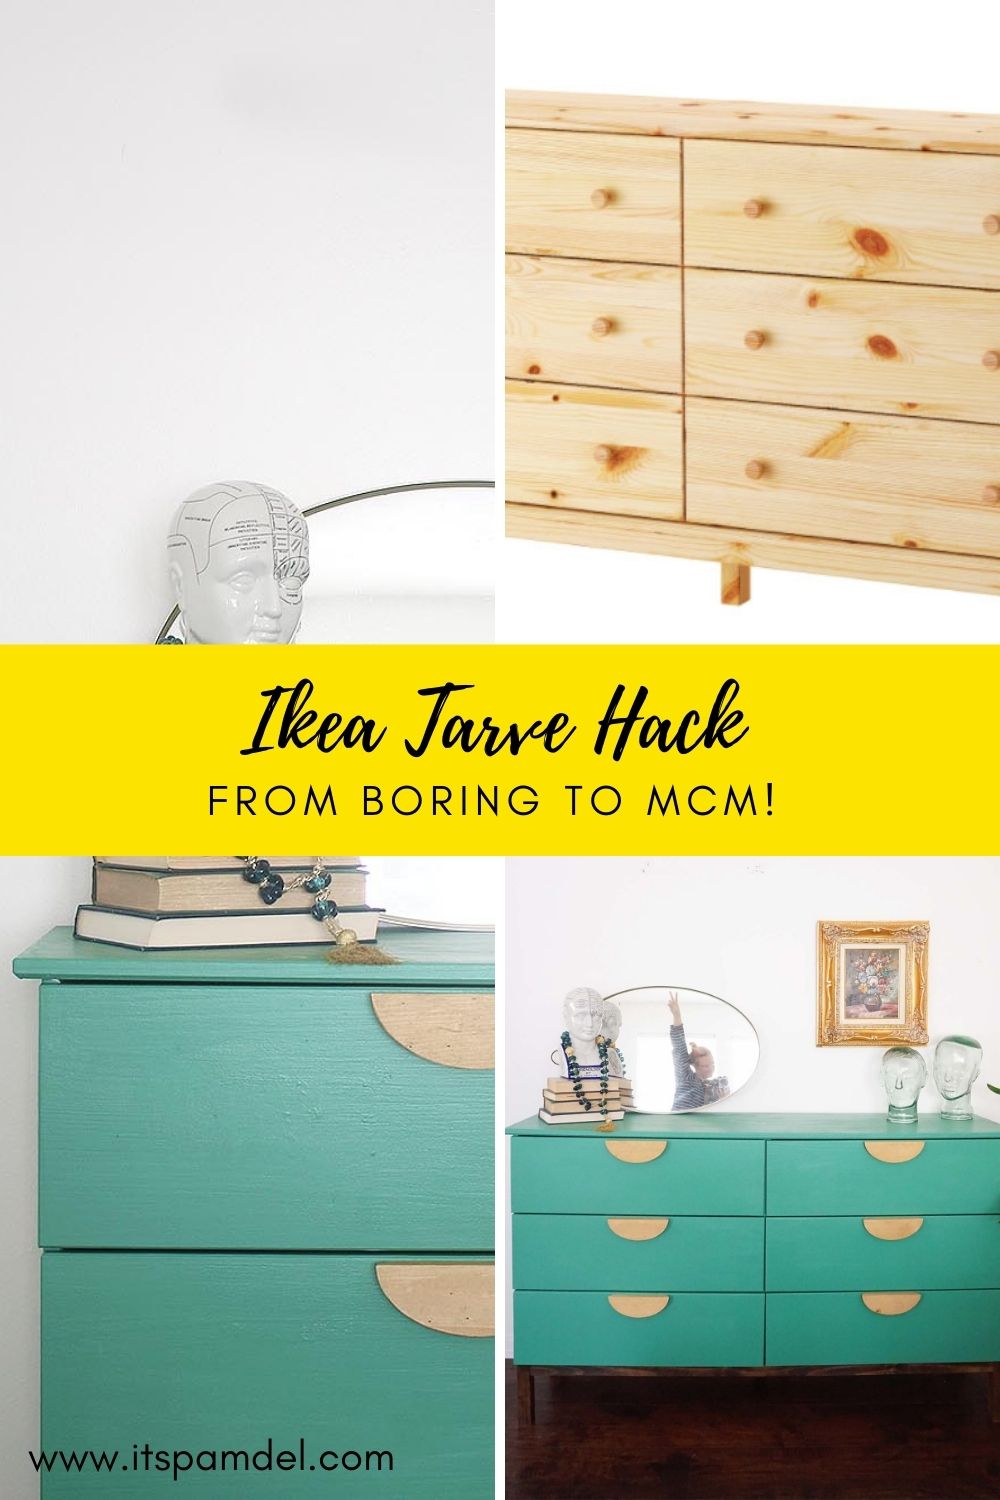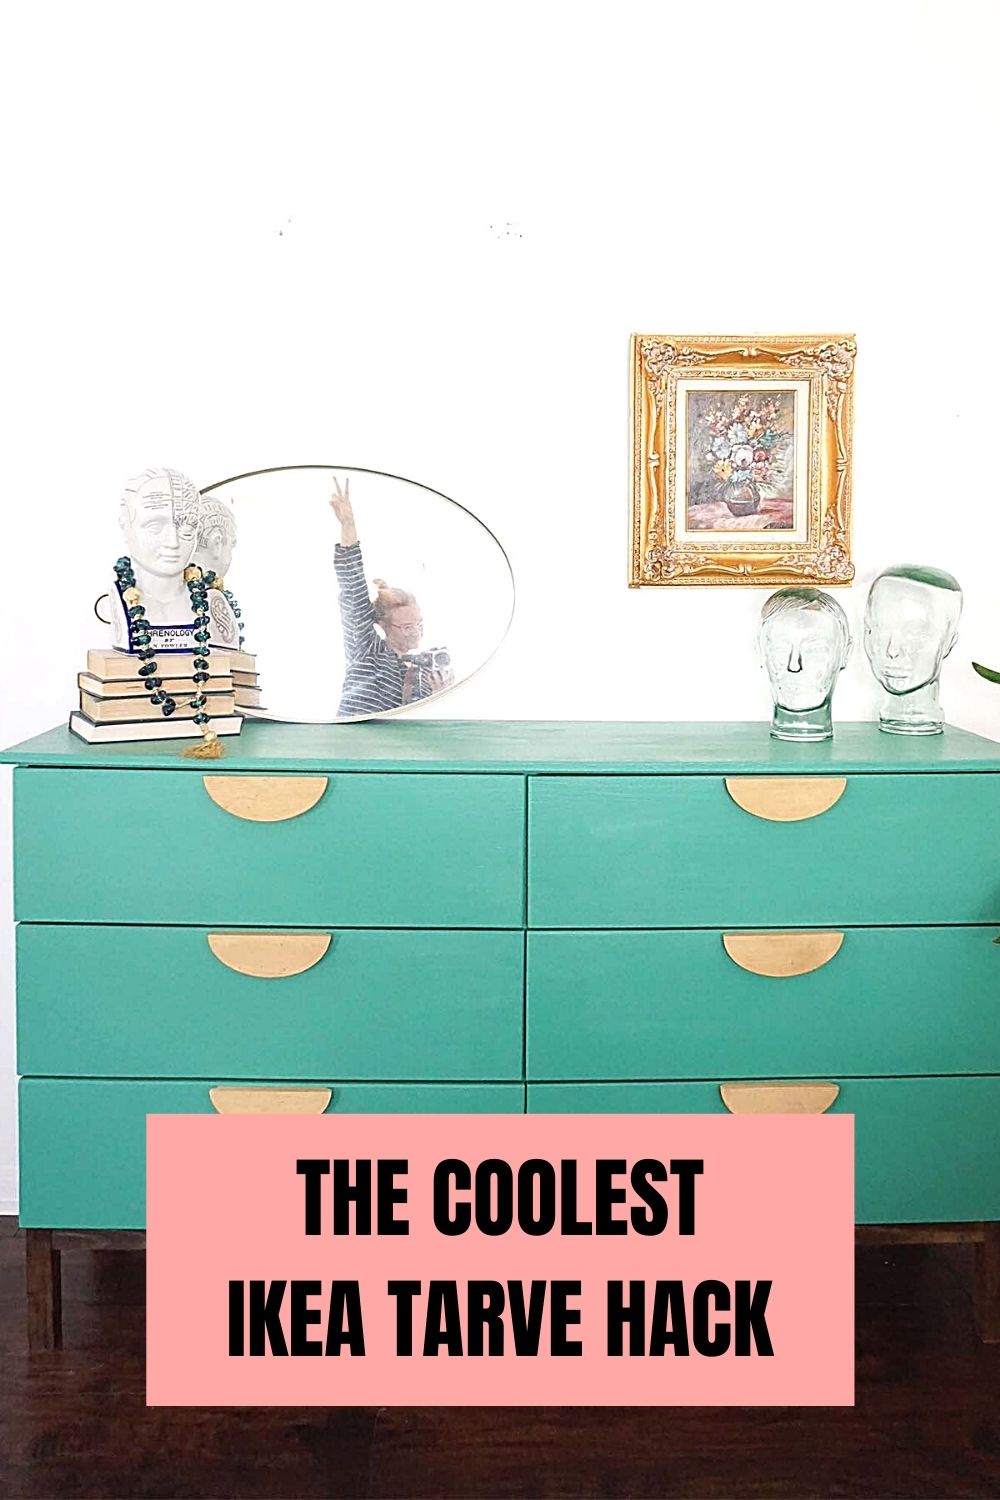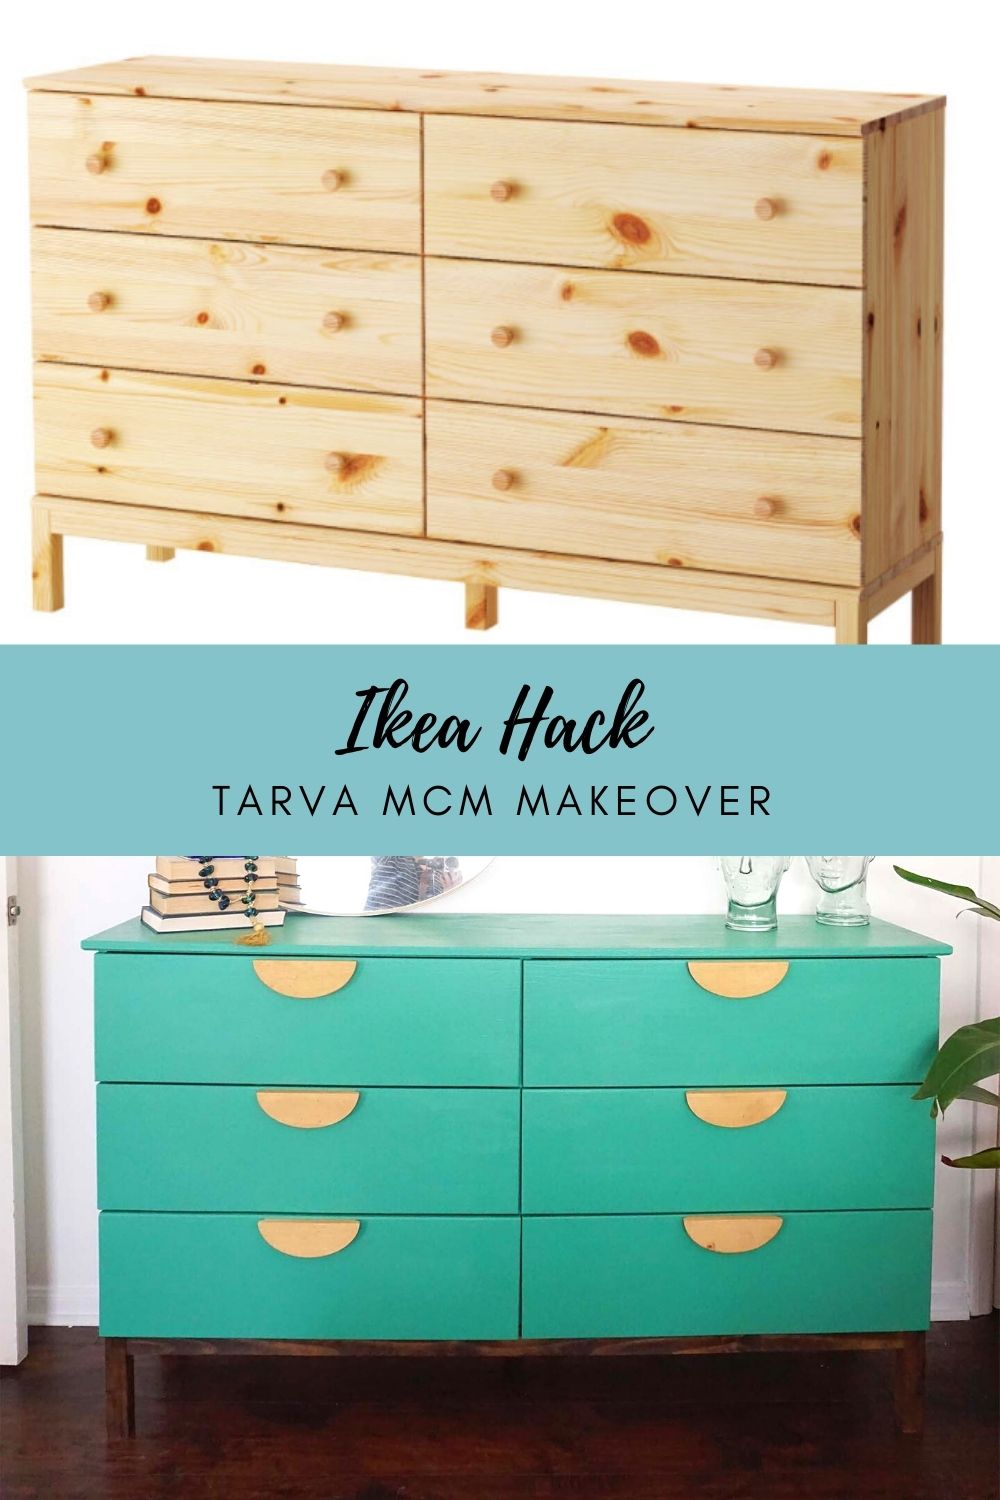
Our bedroom has an Ikea Tarva dresser in it since we basically moved into this house 7 years ago, for awhile the wood ikea dresser was left bare while I overthought what I wanted…and then after overthinking I just went with a simple wood & white ikea dresser combo.
The great thing about the IKEA tarva dresser is that it takes stain & paint equally as well, it’s like IKEA made this furniture just for people to create something totally unique and on a budget. Well, after a few years of the IKEA dresser in a modest dark oak stain & matte white painted fronts…it was time for a change! But what sort of change? I grabbed a few paint samples from the hardware store & drew inspiration from retro and vintage furniture for the next round of my ikea tarva makeover.
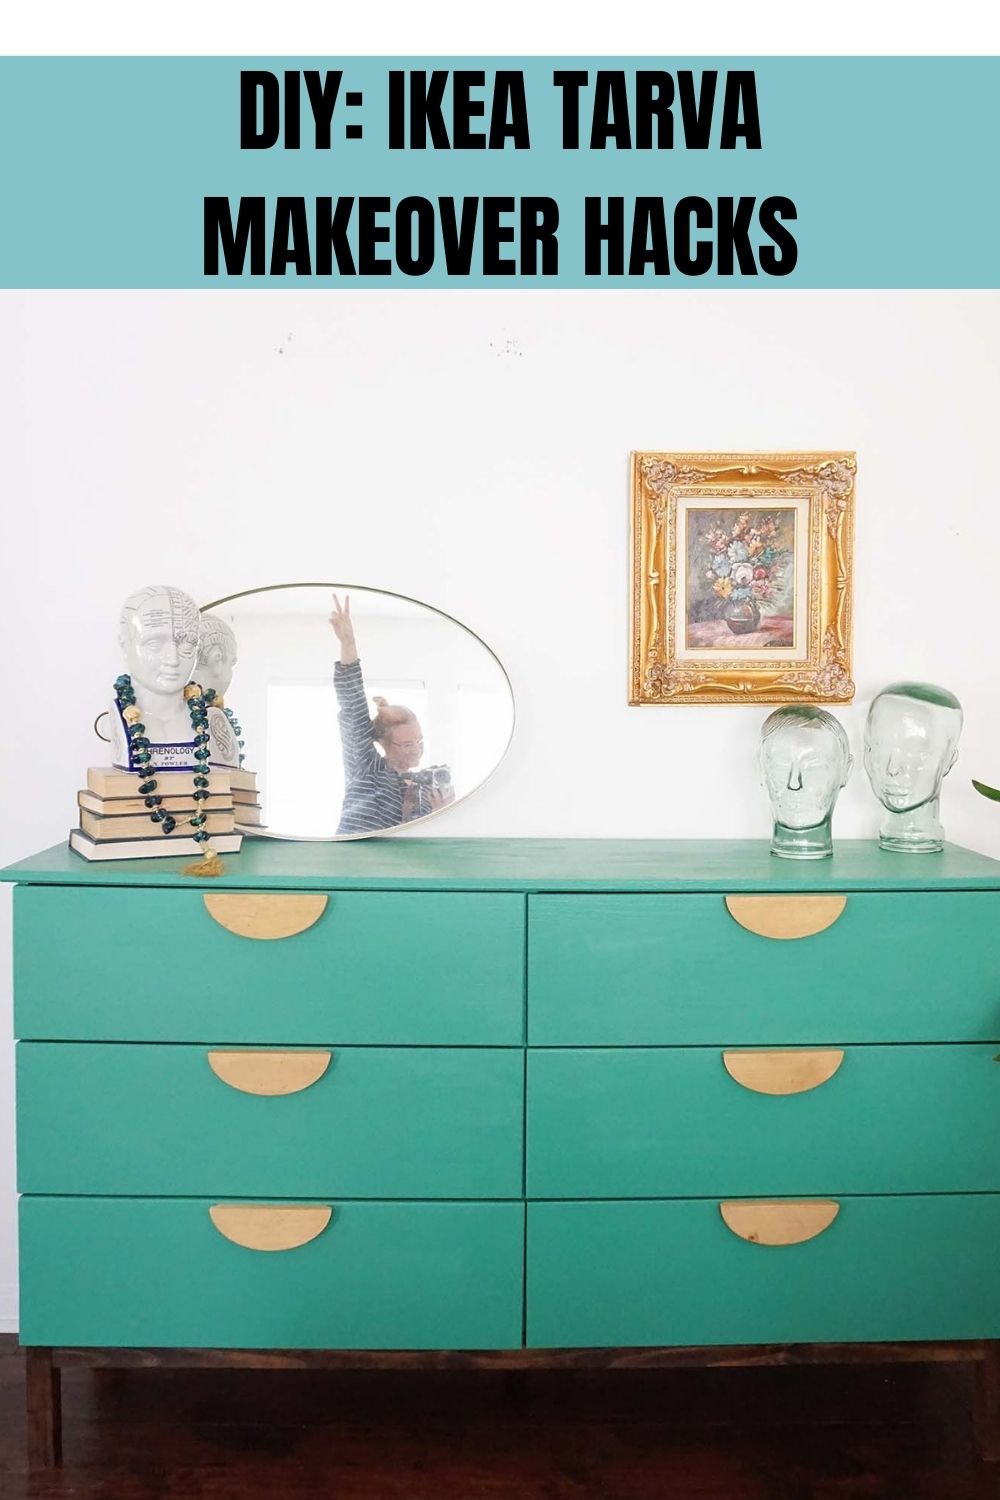
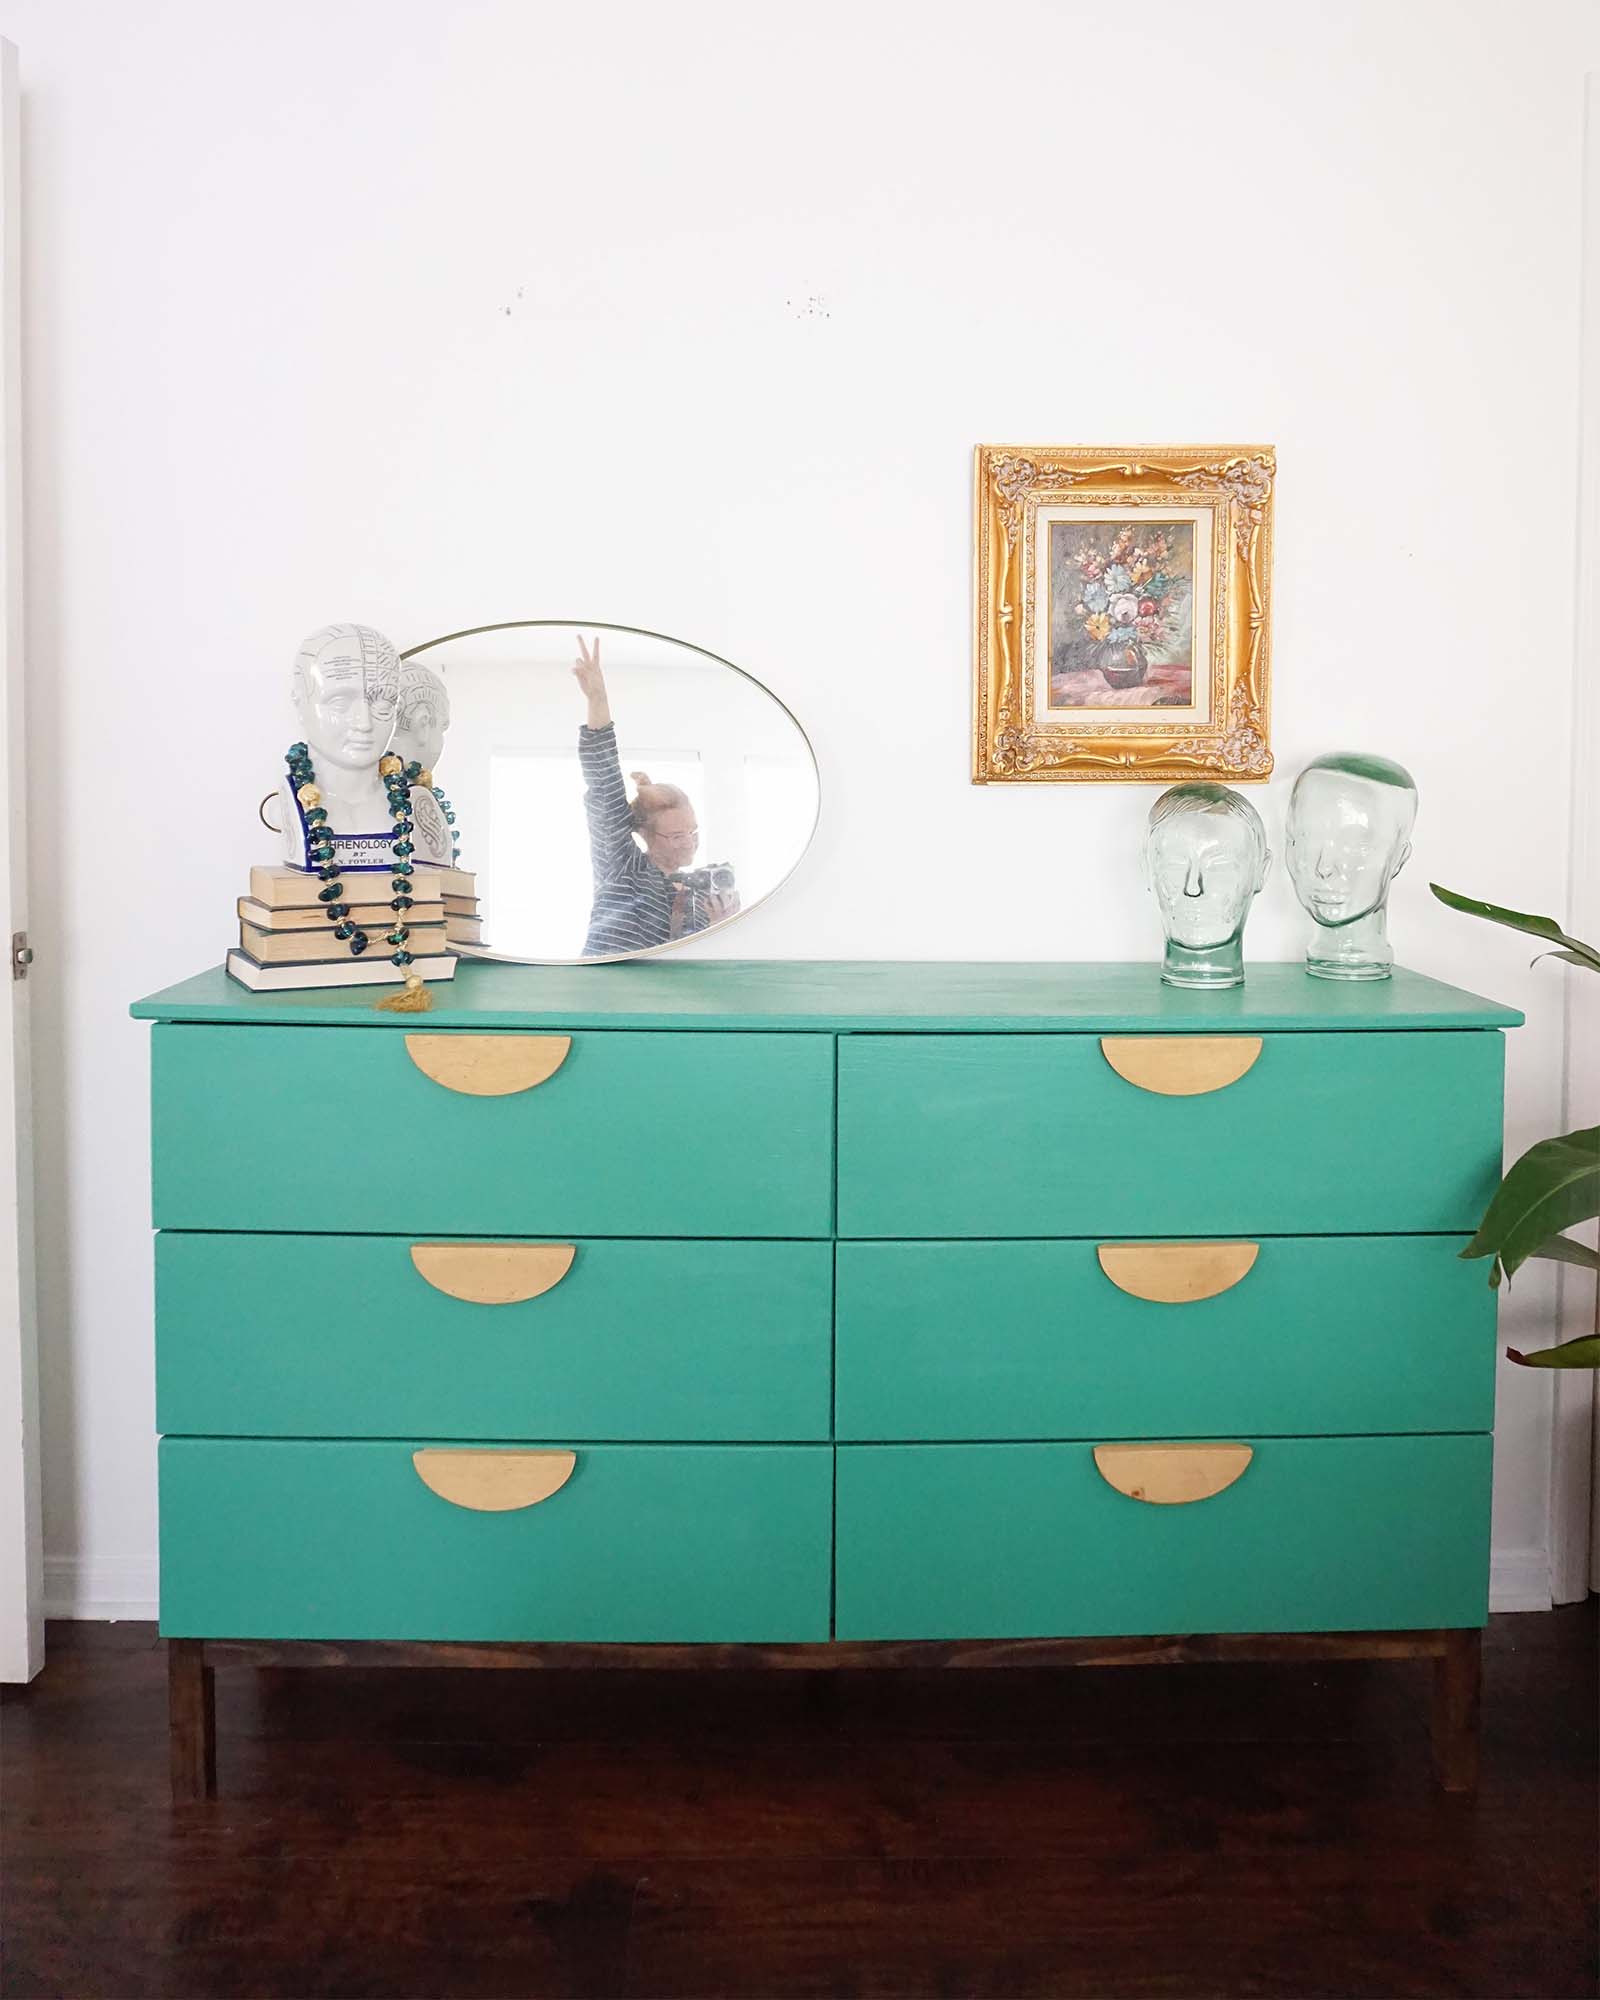
This time I painted the whole dresser minus the legs & bottom bar a solid color. If you are starting fresh with a new IKEA dresser, you have very little prep work at all before painting. I do suggest using a primer with IKEA dressers, I’ve noticed in the past when I just slap white paint on my IKEA raw wood furniture that the eyes of the wood will come through and leave nasty looking marks, even when my paint boasts that it is a primer & paint in one.
I primed every area I was going to paint this time after learning that this one step can save me several coats of paint, just do it guys. Just prime, take it from a lazy DIYer who rather not have another step…this will save you from layers upon layers that just won’t cover.
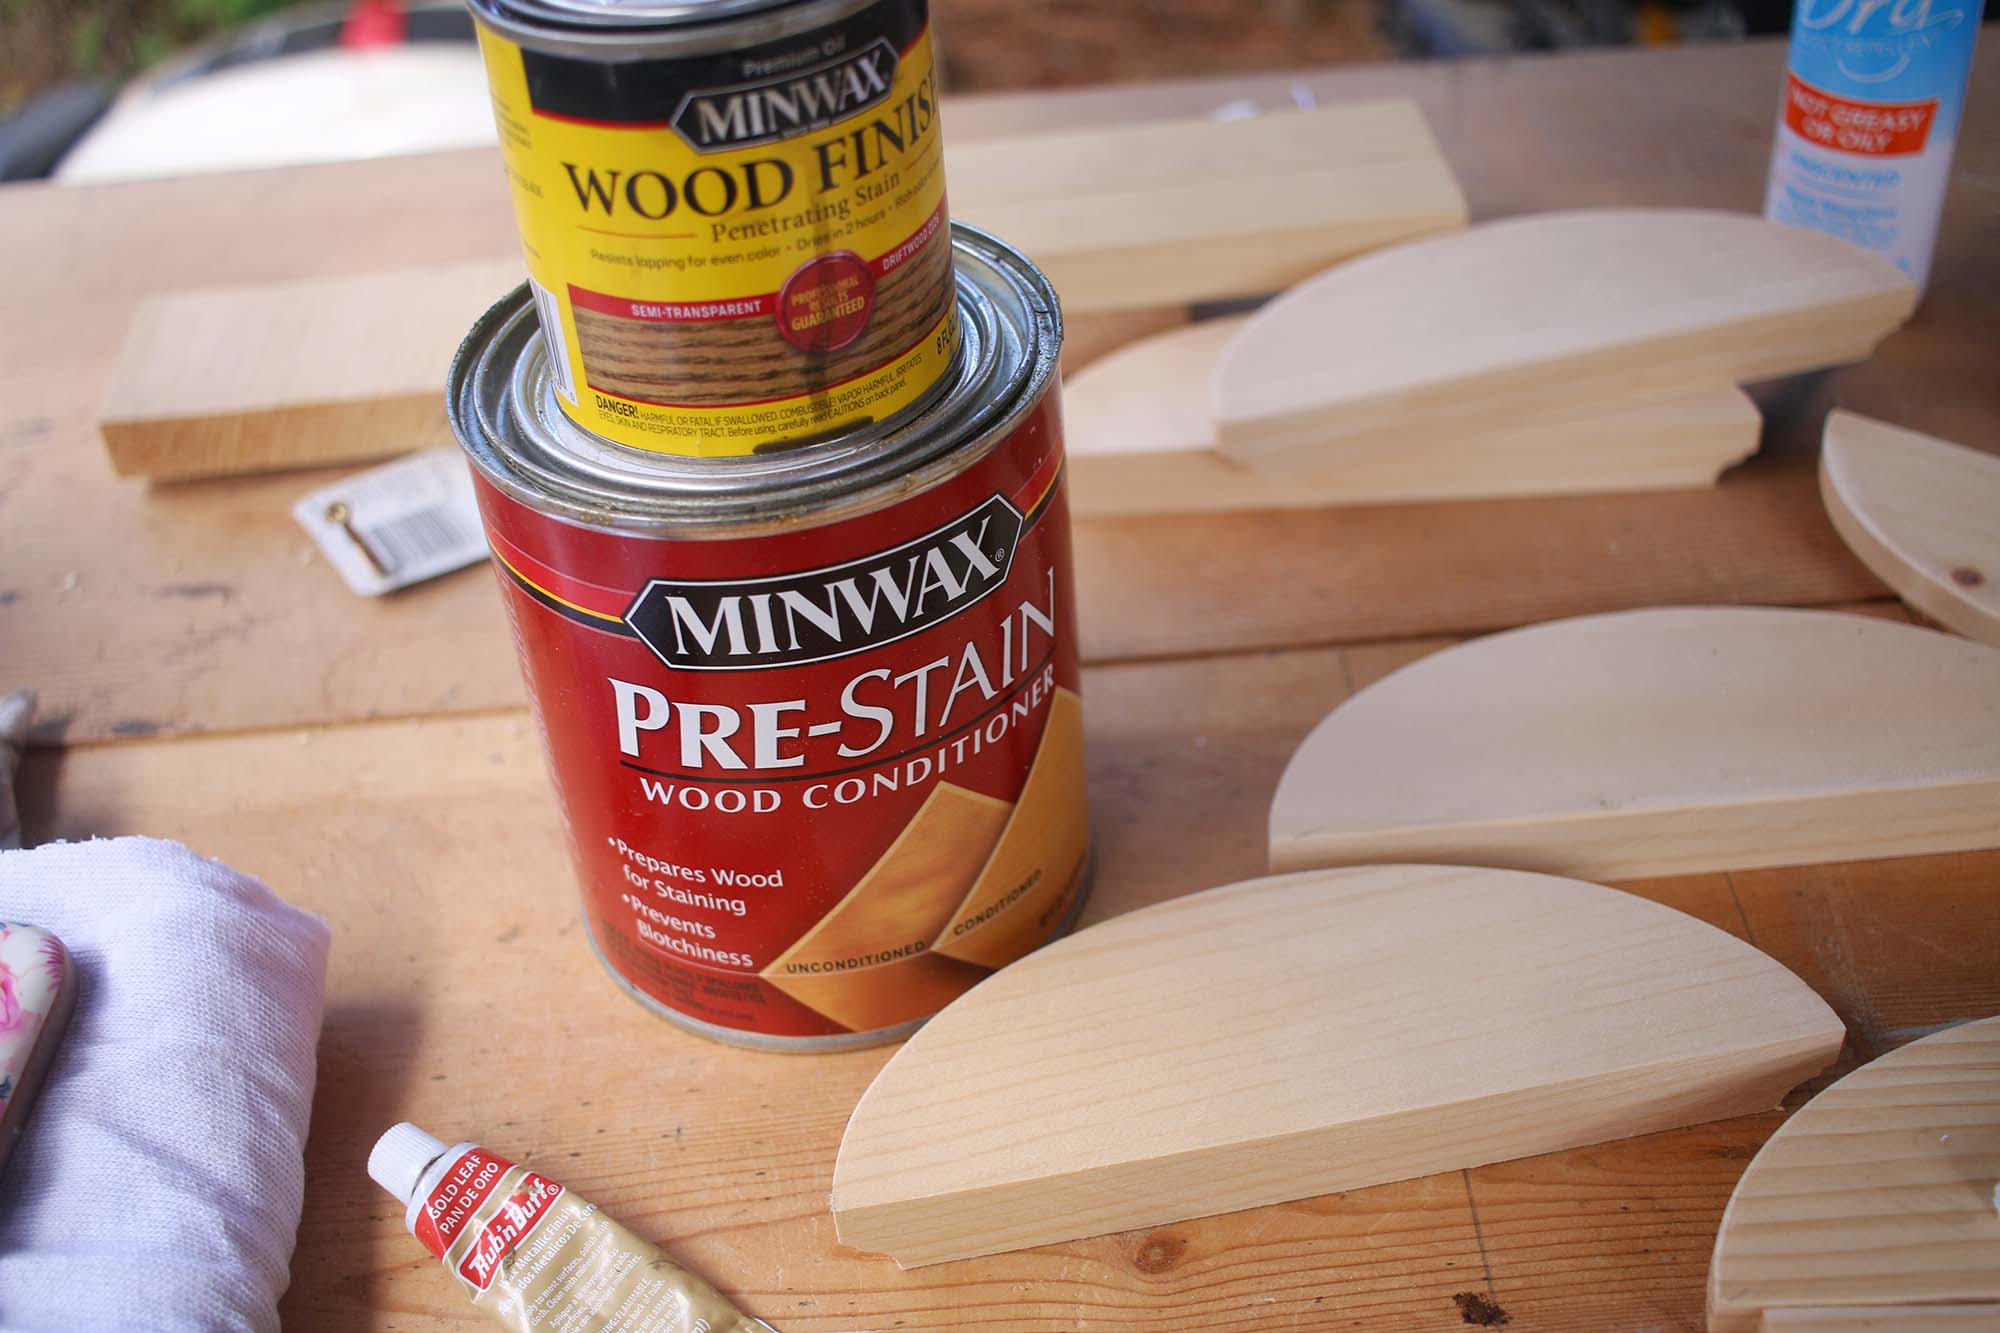
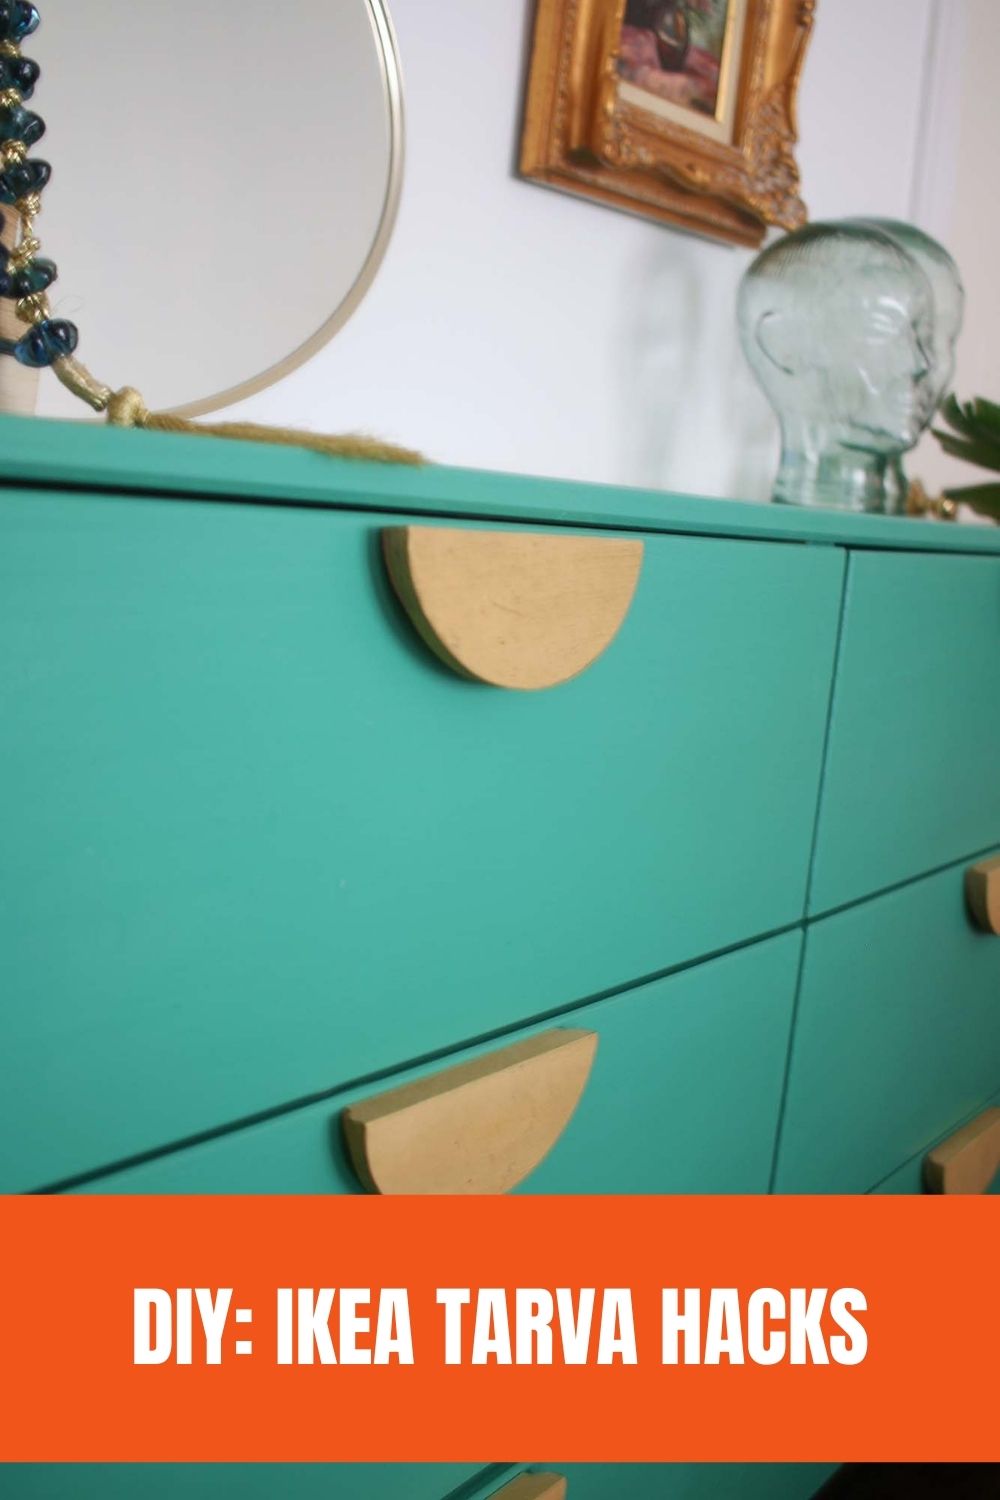
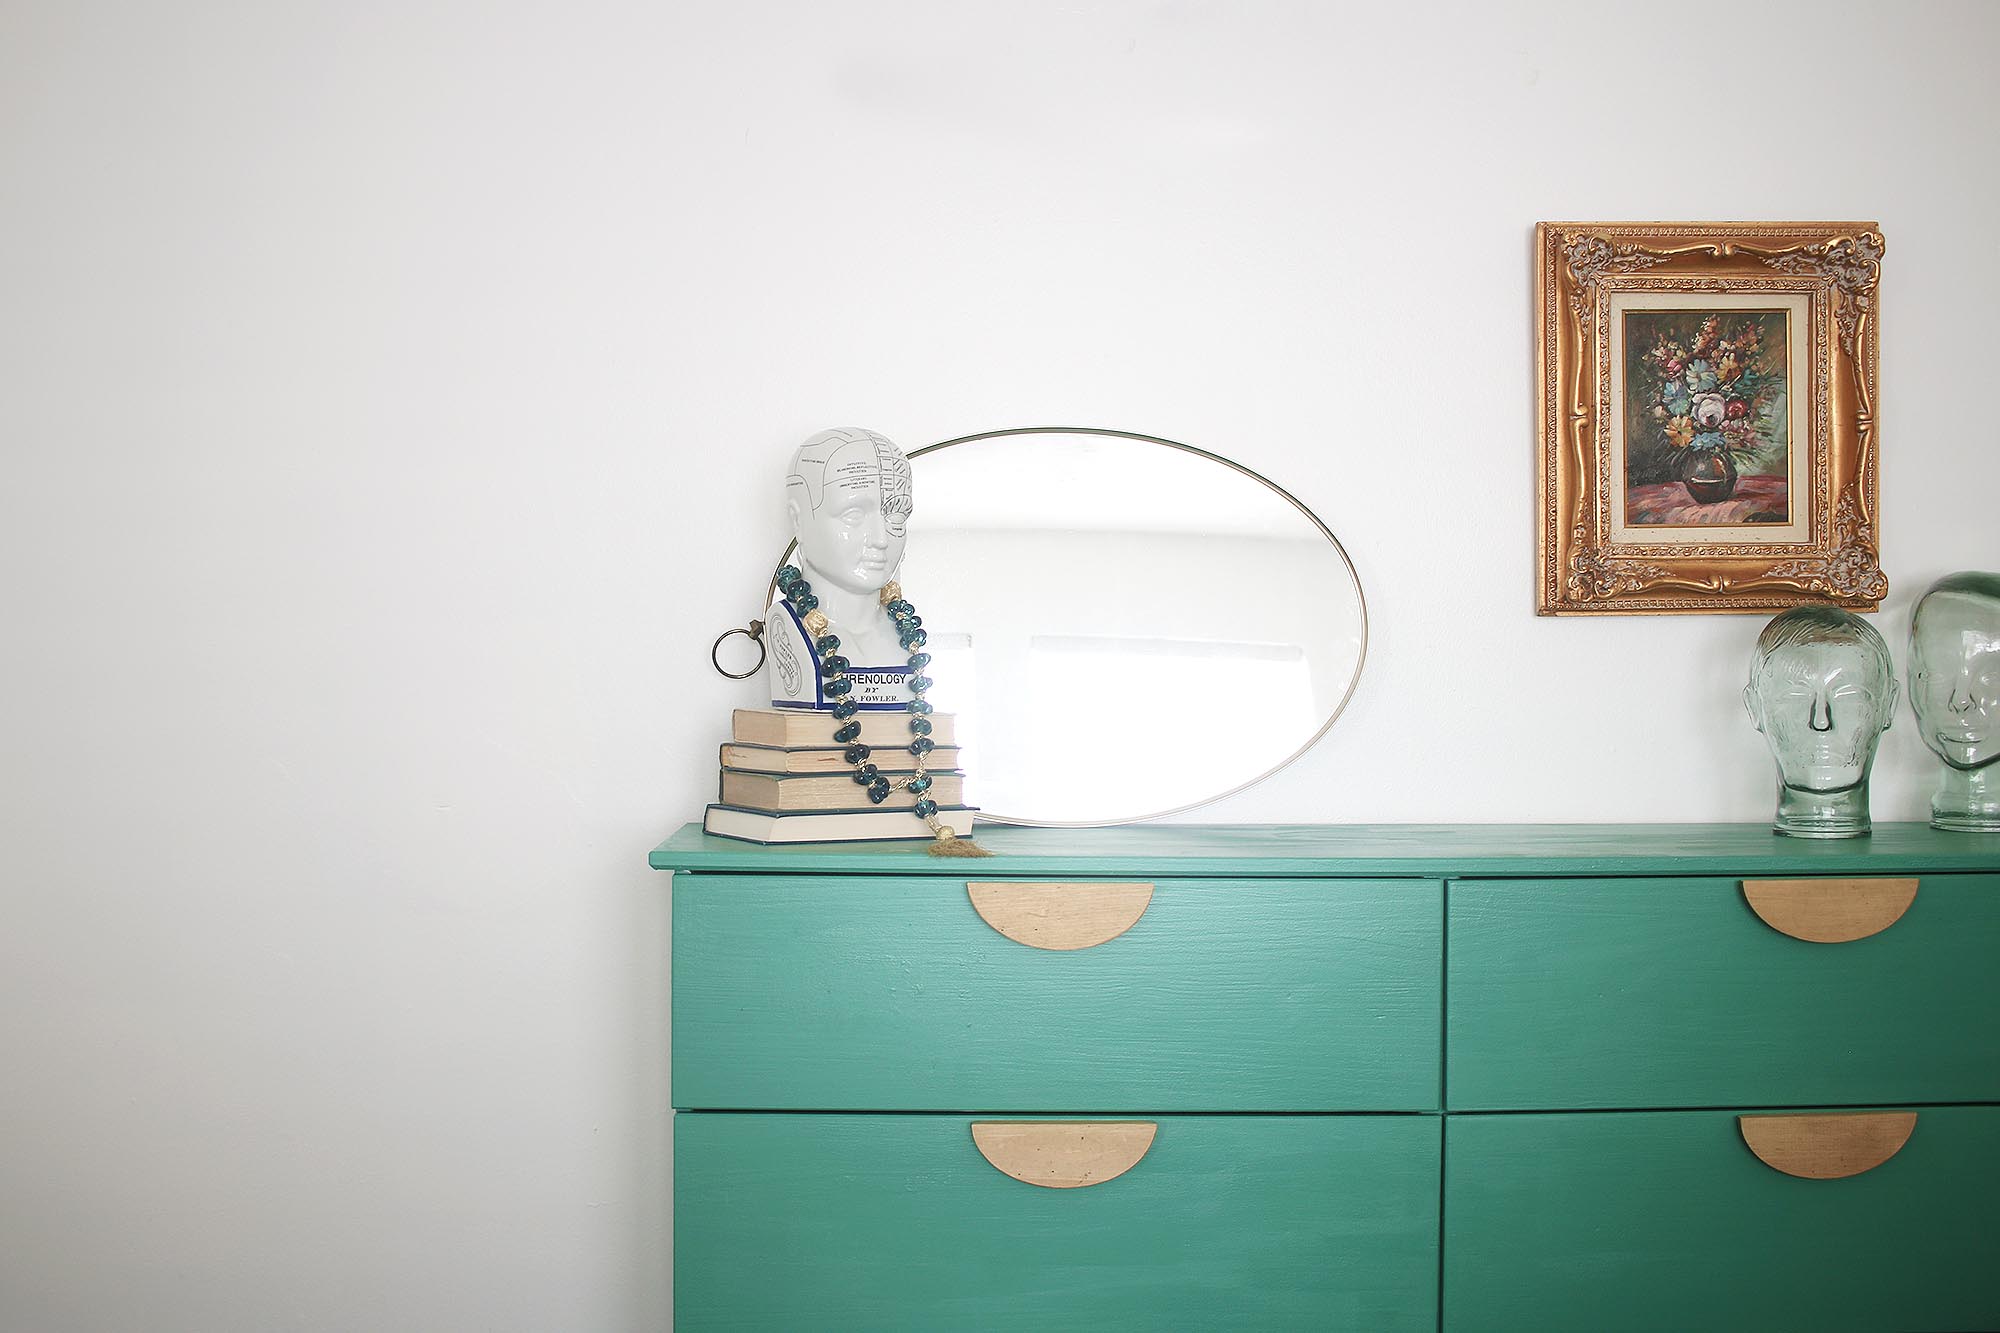
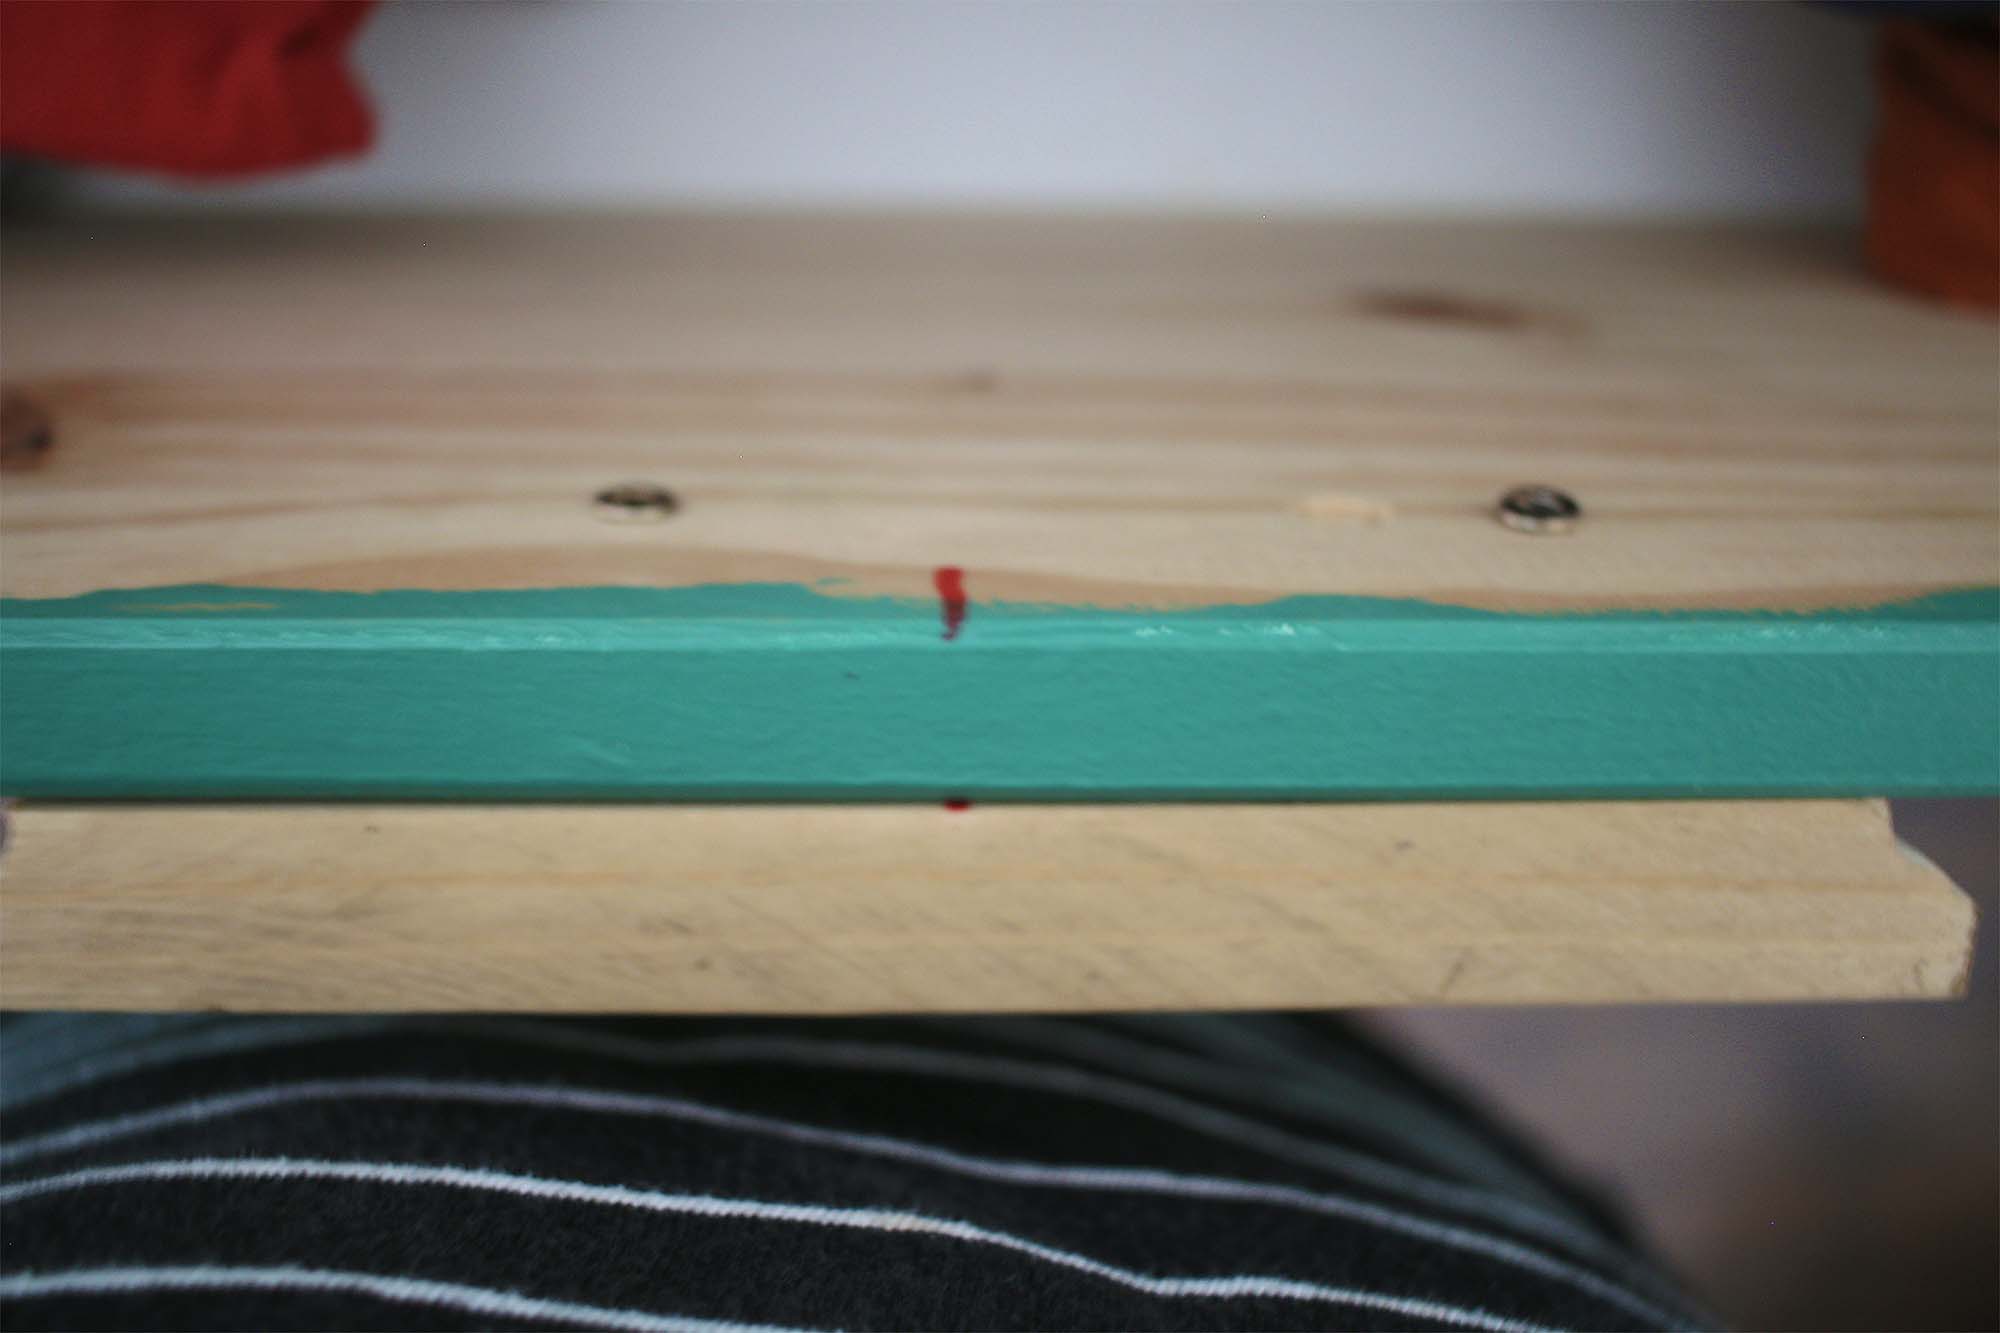
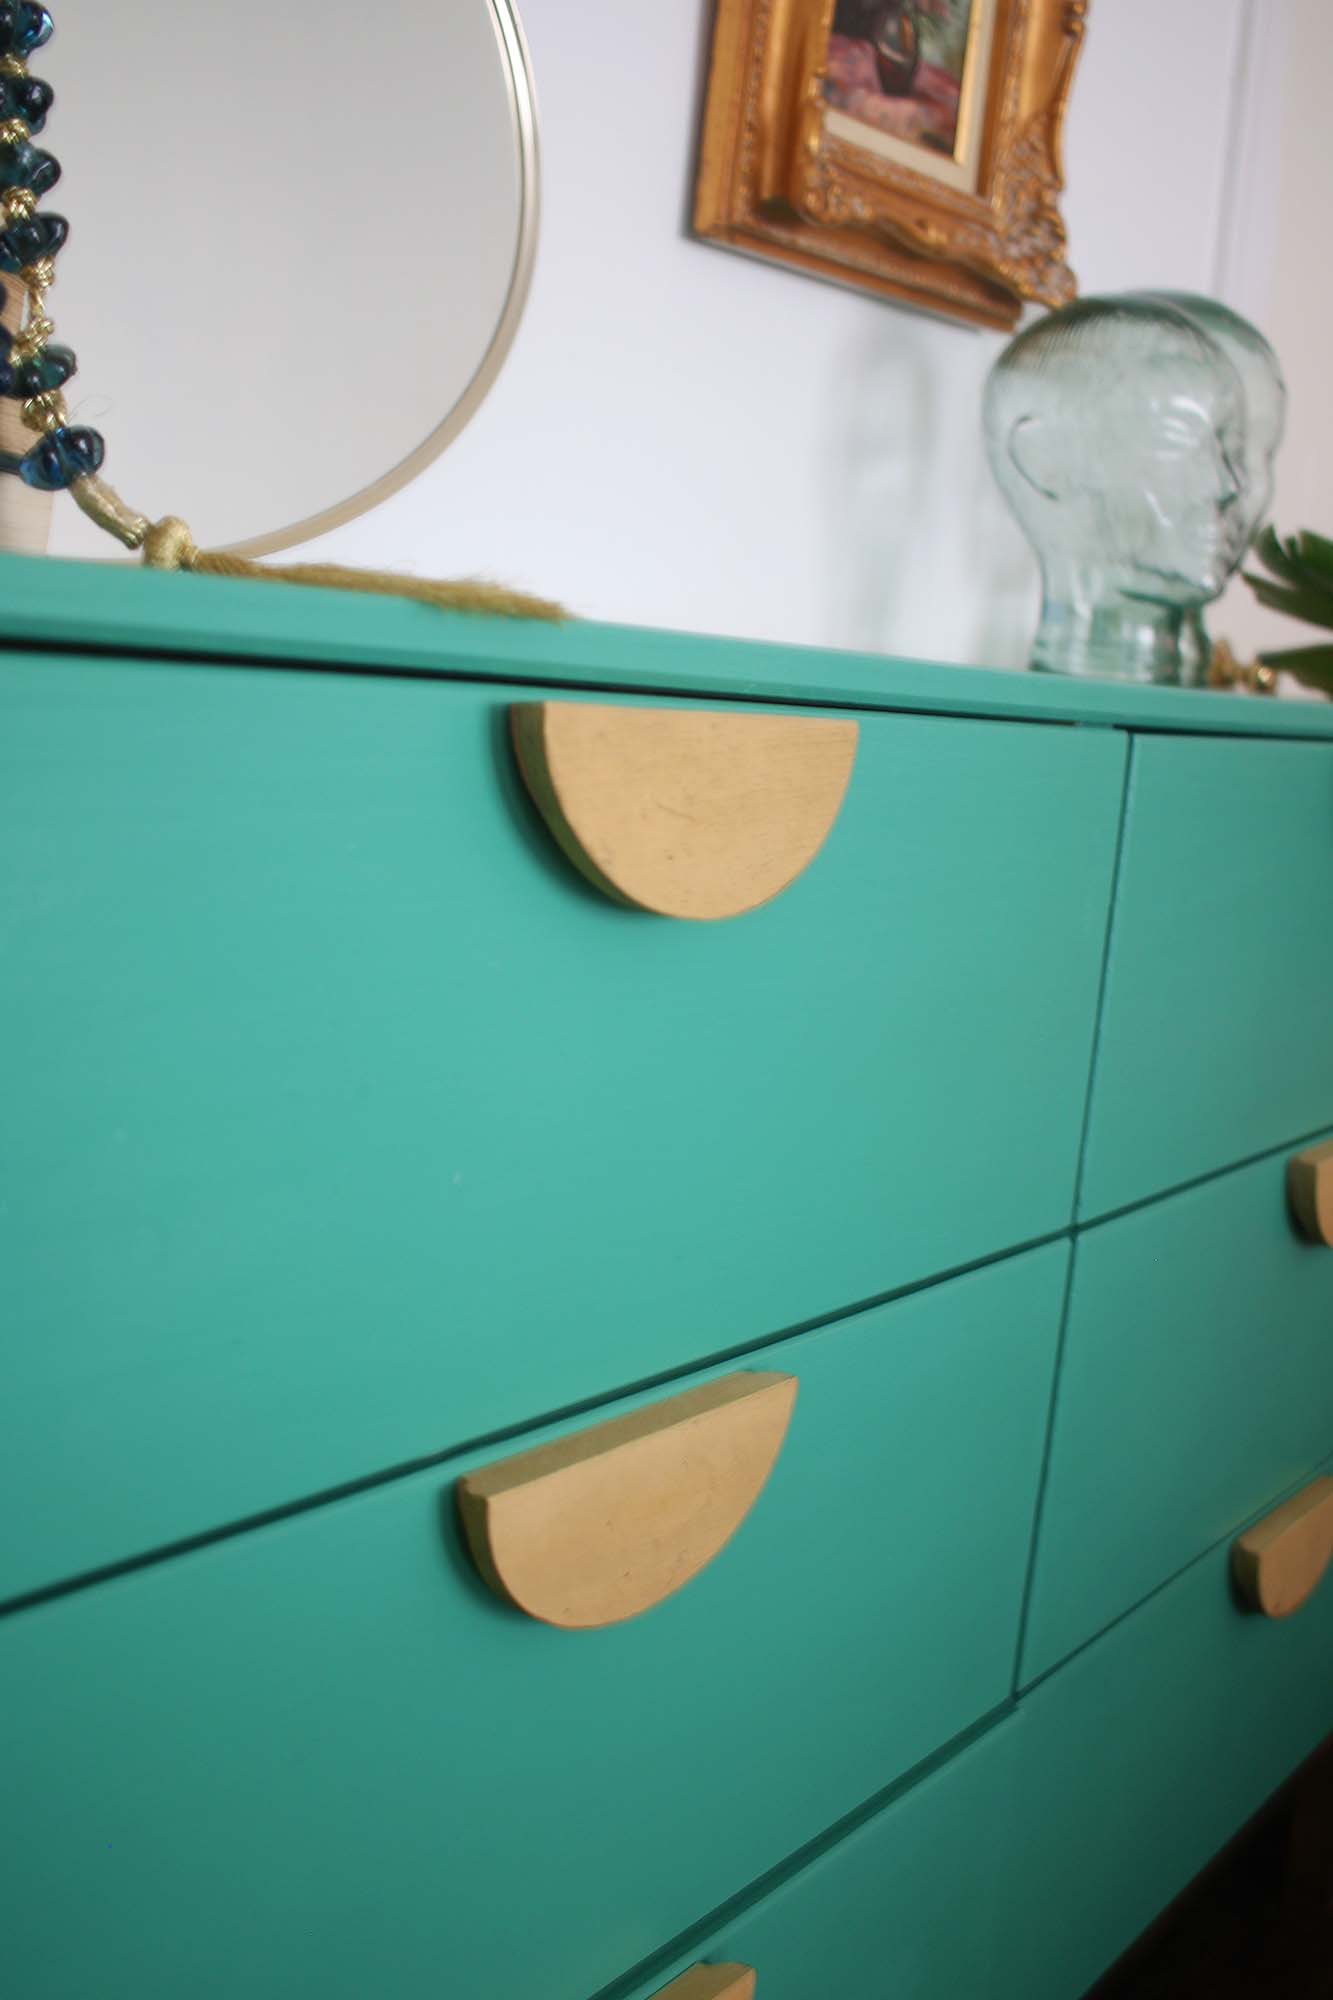
The dresser handles are what really make this piece shine & set it apart from being just another IKEA hack makeover but they won’t set you back much, I found these oval wood plaques at my local Hobby Lobby but they also are easily found on Amazon. Since you are cutting each plaque down the middle, each one will create two pulls. To create the pulls the plaques were simply cut down the middle with a miter saw to split each one in half, whatever you use be careful with such small pieces. After cutting the pieces I gave them a quick sanding to get rid of jagged edges, a layer of pre-stain wood conditioner, stained & gave them a layer of poly.
When installing the pulls, I measured for the center of my drawer & the center of the plaque to line them up properly. I then drove 2 – 1 3/4″ screws through the back of the drawer into the plaque to give the front a clean look. The plaque bevel should be facing inward to give you a lip to pull the drawer out easily.
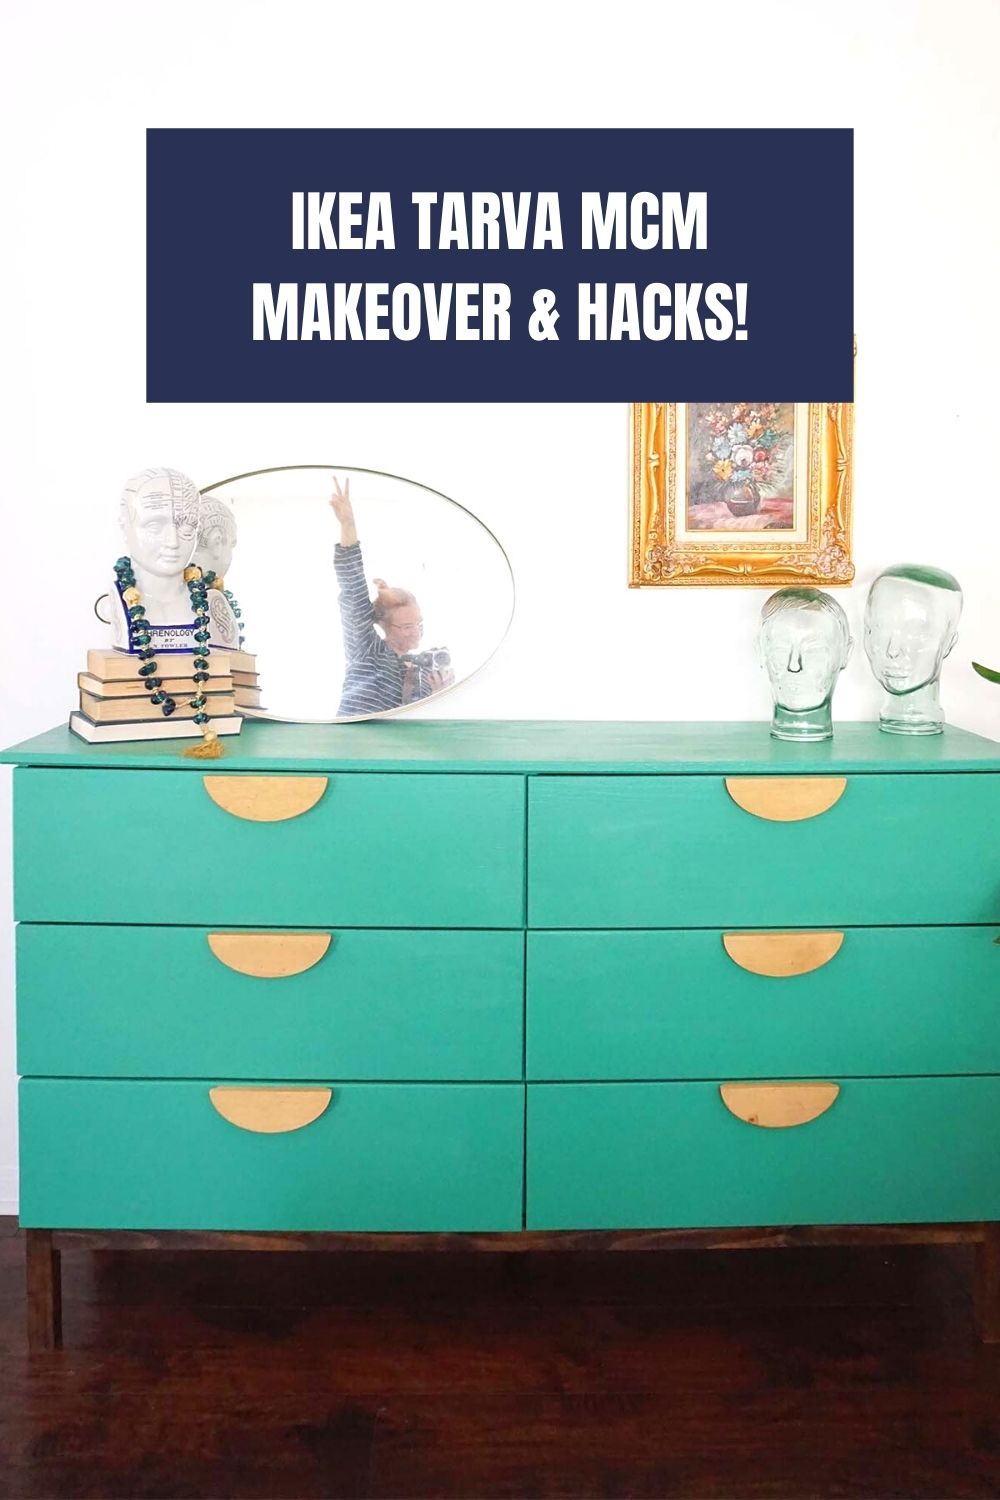
Another option is to purchase round plaques & place them in the center of each drawer for a solution that doesn’t need cutting but still gives a very retro look to your IKEA dresser. I’m loving this whole IKEA Tarva makeover that’s perfect for the boho, vintage or MCM style.
Steps I took for the Boho Ikea Tarva Hack:
1. Cleared/wiped down dresser
2. Removed drawers
3. Tape off legs (if you have new dresser, stain the legs & then tape off once they are dry)
4. Filled in original drawer holes with wood putty & sanded down once dried
5. Primed entire dresser
6. Painted dresser (two coats)
7. Installed drawer pulls
8. Applied two thin coats of Poly
What I Used:
My go to sander
Rags for applying stain
Blue Painters Tape
Kilz Primer
Small Foam Roller
3 – 5×7 Oval Wood Plaques
Paint & Stain Colors:
Legs – Dark Walnut by Minwax
Knobs – Driftwood by Minwax
Dresser – Alexandrite by HGTV Home by Sherwin Williams
Don’t forget to pin this for later!